Make the Niki's Butterfly knot | Tutorial
Make a Chevron collar with Paracord Type I | Tutorial
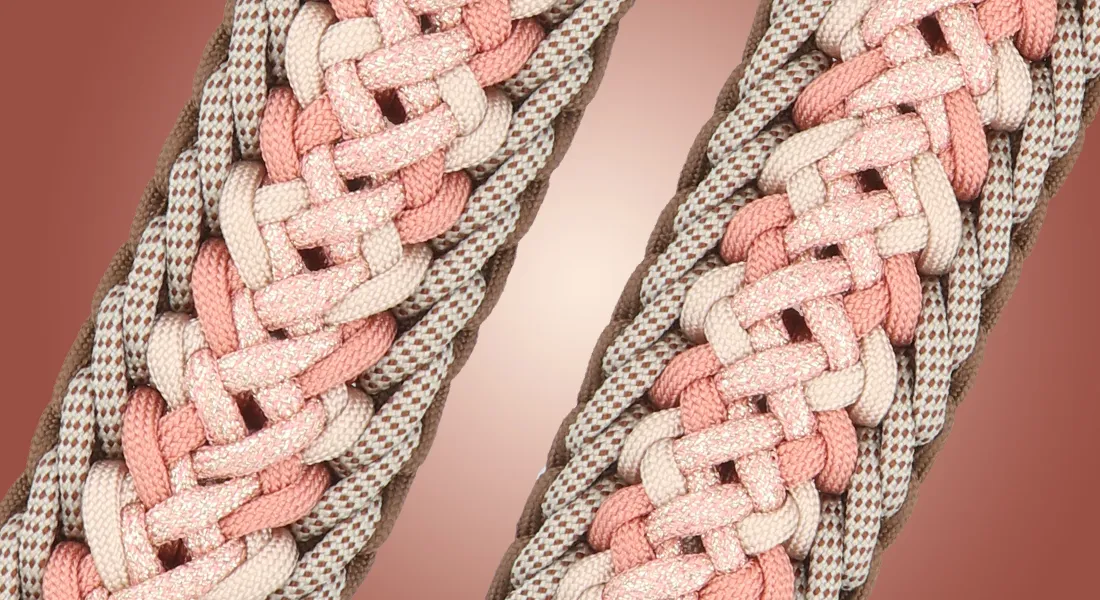
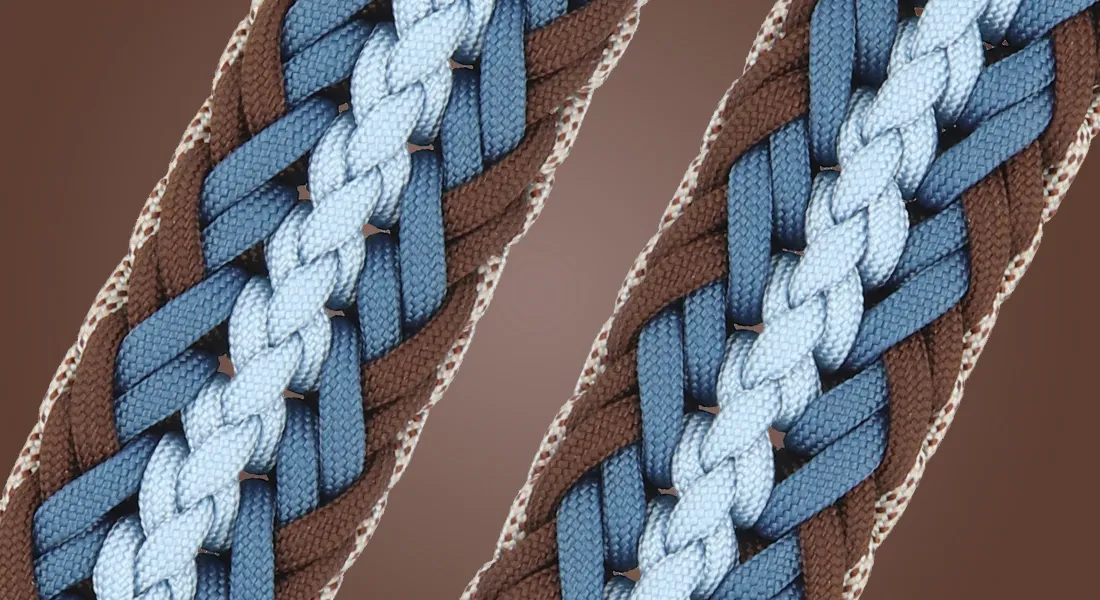
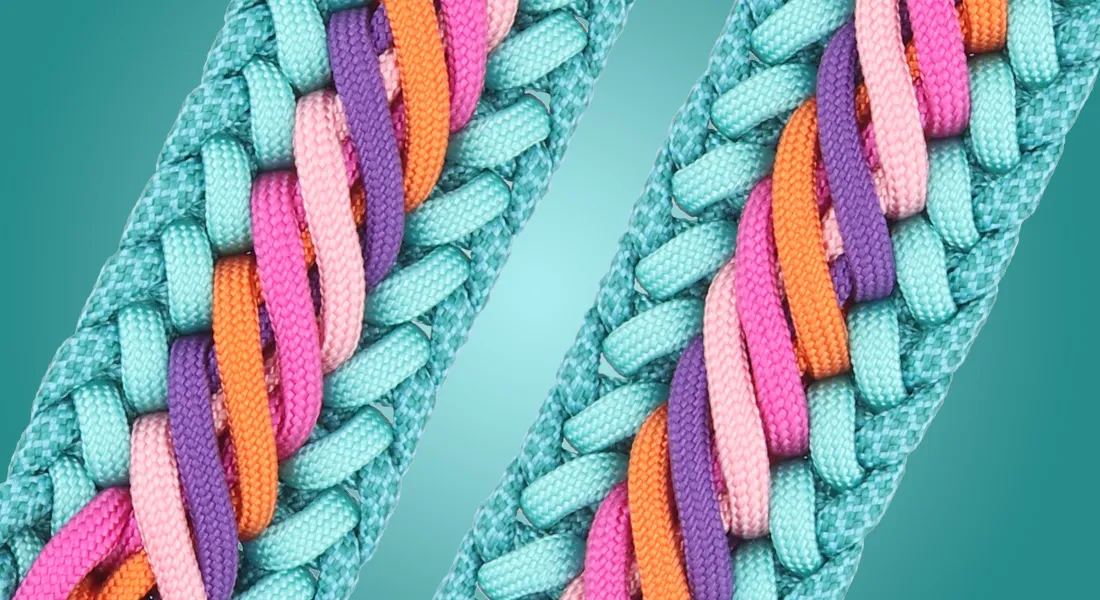
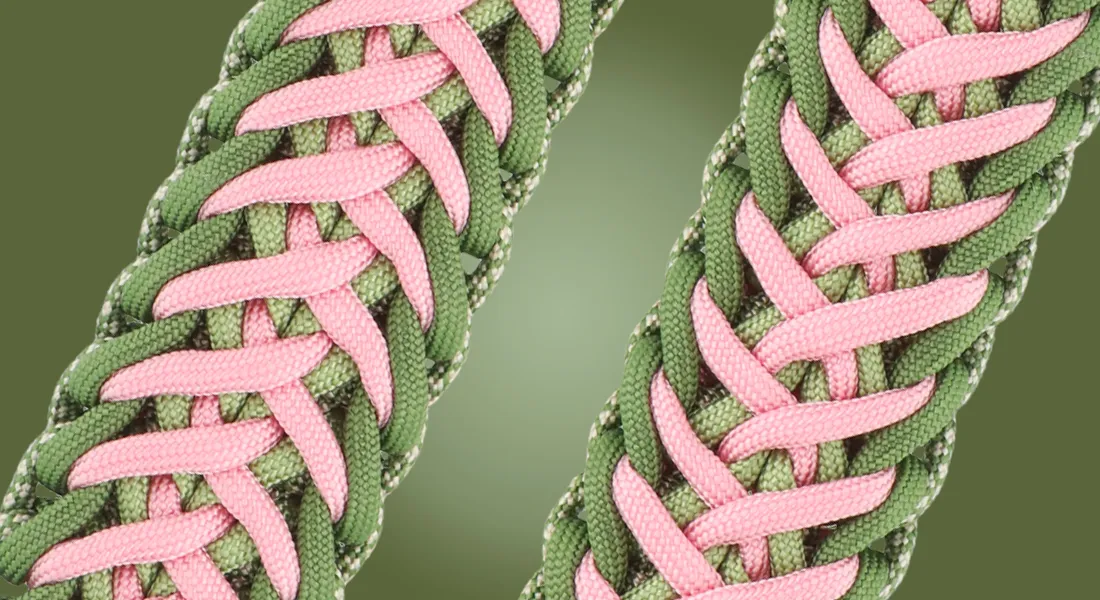
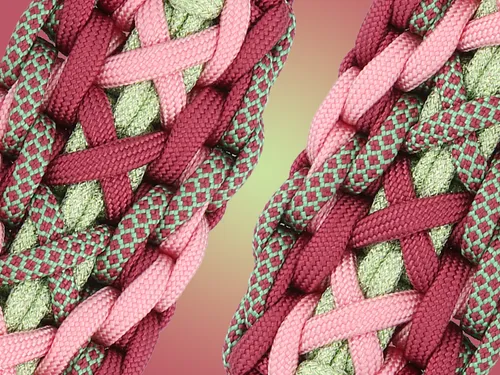
We are seeing more and more the friendship bracelets, made of Paracord Type I or micro cord, being processed into dog collars. These collars look beautiful, but how do you turn this pattern for a friendship bracelet into a version for dog collars? Here is a modified version of the Chevron pattern with a full video tutorial on making the collar.
The Chevron is one of the most well-known patterns in the world of friendship bracelets, typically made with thin yarn to create various designs. In this tutorial, we use Paracord Type I and start the collar with the safe set-up Kosmetik 2.0.
![]()
Length of the set-up
In this tutorial, Paracord Type I is used. Use the MatchMaker tool to create fun combinations. Using the length calculator in the MatchMaker, you can easily calculate how much type I cord you need for your project. Please note that the length and MT codes are shown in Type III! The required length remains about the same in Type I.
If you want to use micro cord, it's useful to make a sampler beforehand so you know how much cord you'll need. If you tie the Chevron with six colours of Paracord Type I, your knotwork will be about 0.8 cm thick and 3.5 cm wide.
These materials are used in the tutorial (for a setup length of 20 cm):
- Colour 1: Red Velvet Type I (2.3 m)
- Colour 2: Holy Guacamole Type I (2.3 m)
- Colour 3: Pastel Pink Type I (2.3 m)
- Colour 4: Viva La Vino Type I (2.6 m)
- Colour 5: Hazelnut Brown Type I (2.3 m)
- Colour 6: Cafè Latte Type I (2.3 m)
Grundlegende Makramee-Knoten
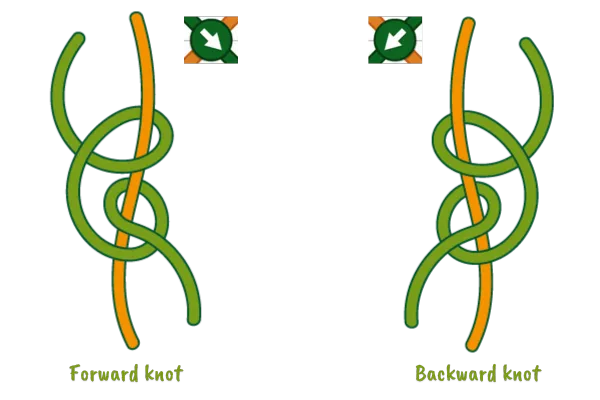
There are four basic knots you can use to make almost all friendship bracelet patterns. For this particular pattern, you only need two of these: the Forward knot and the Backward knot. The Forward knot goes from left to right and the Backward knot goes from right to left. If the arrow in the pattern points to the right, you make a Forward knot. When the arrow in the pattern points to the left, you make a Backward knot.