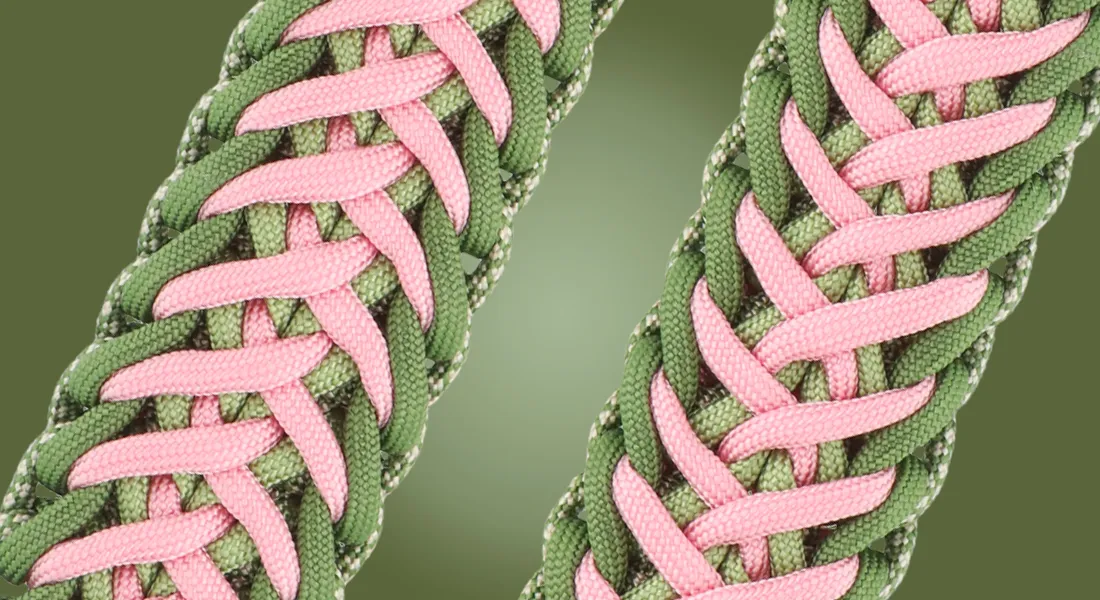
Make the Niki's Butterfly knot | Tutorial
Make a BioThane dog collar with paracord | DIY kit instructions
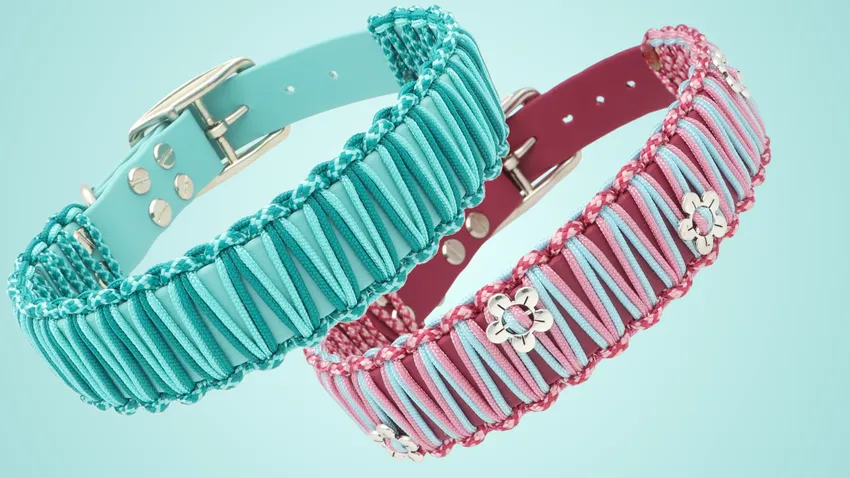
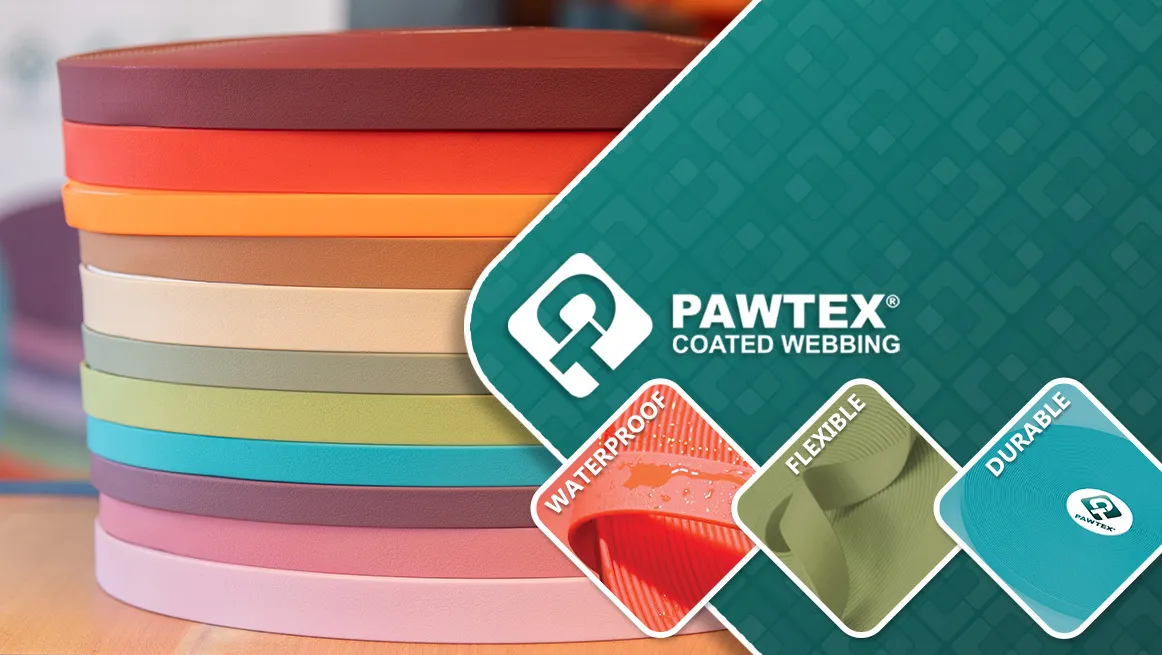
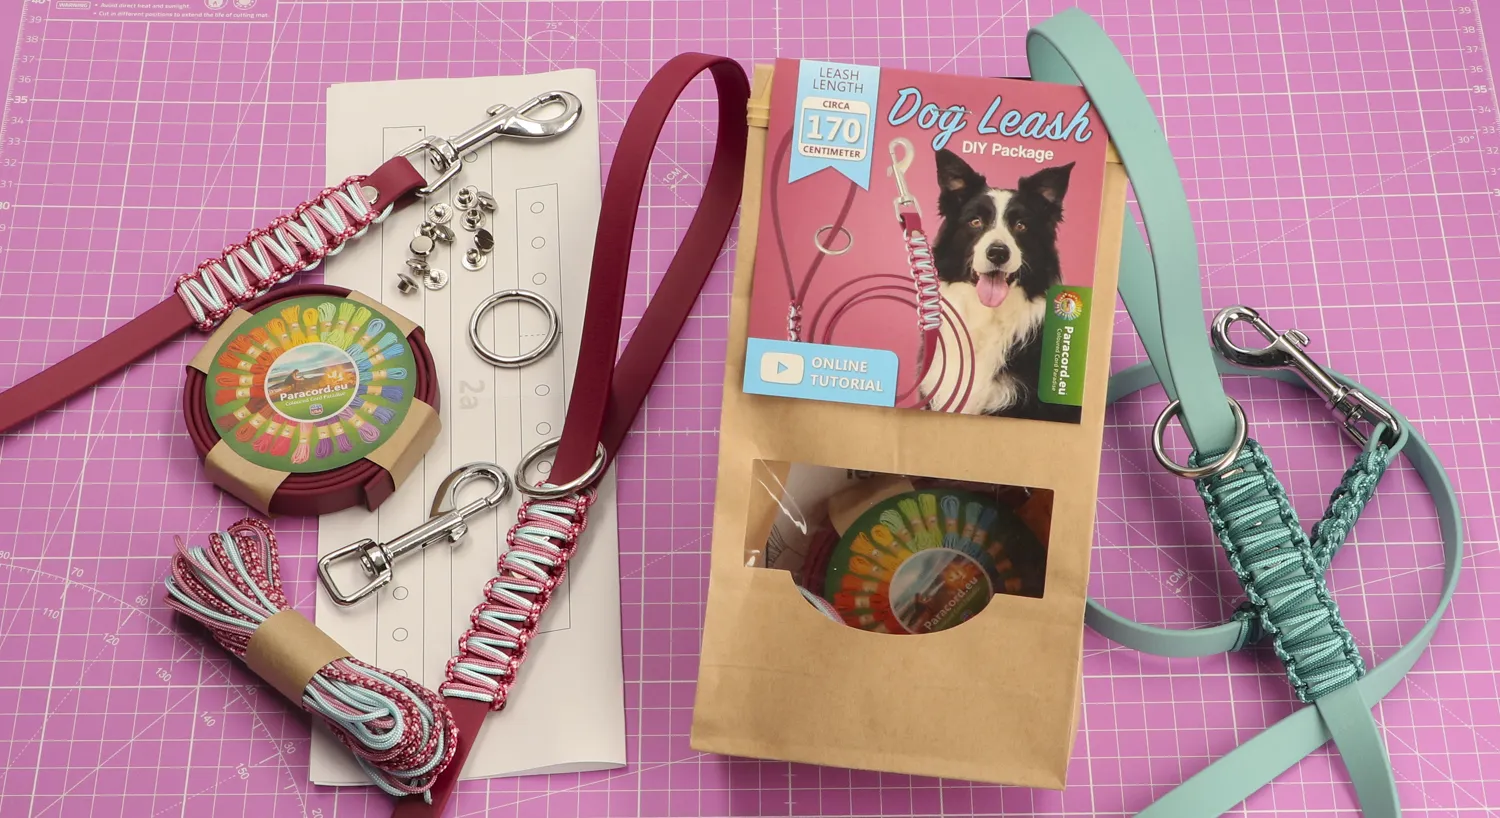
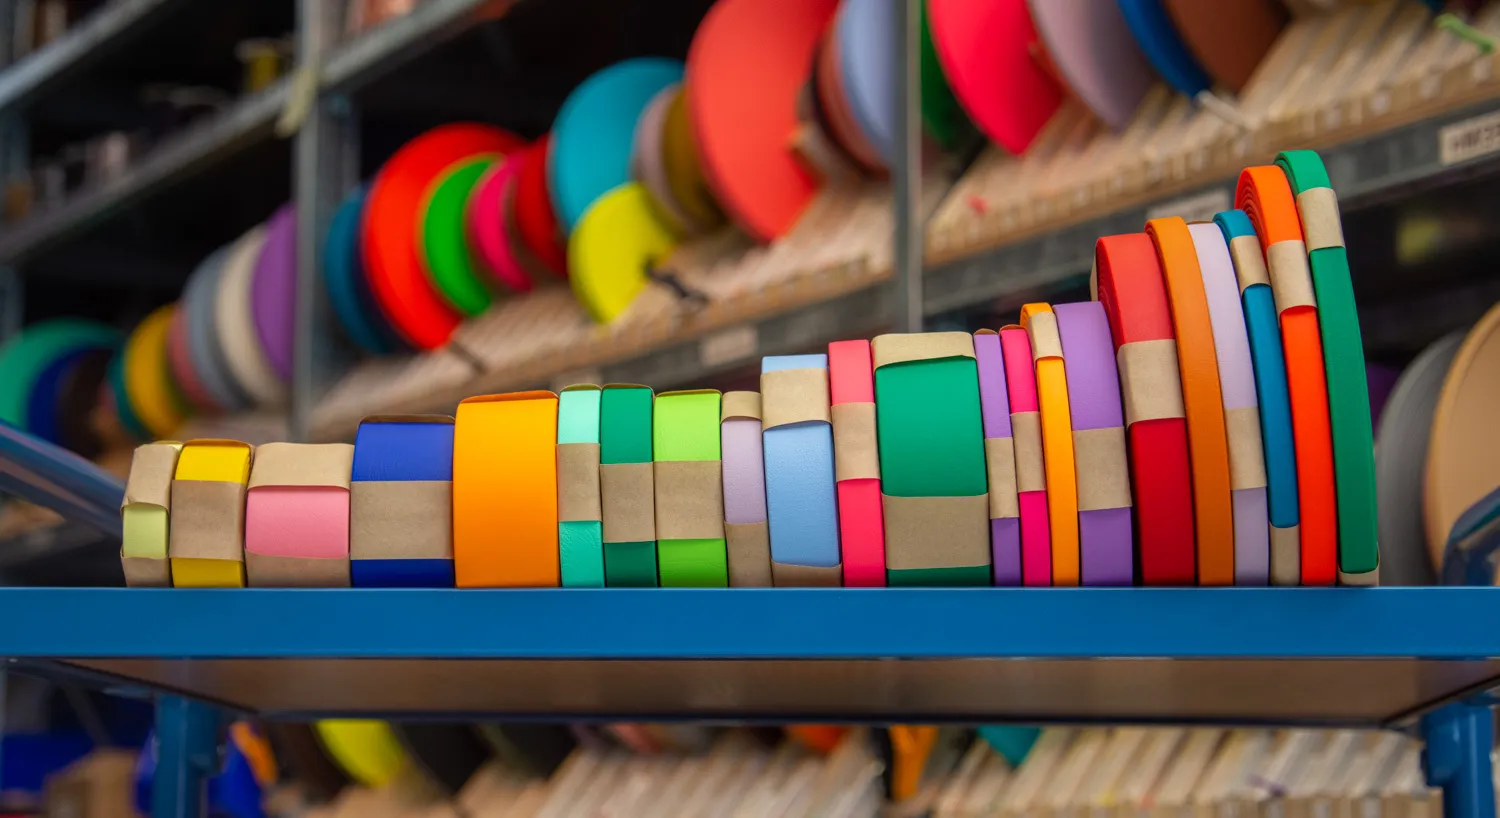
Make your own custom and colourful collar from BioThane and paracord! BioThane coated webbing is a strong, water resistant and easy to clean material, perfect for a collar. Here is a step-by-step guide with video tutorial for making an adjustable BioThane dog collar finished with paracord.
Did you buy a DIY kit to make this BioThane paracord collar? In it you will find BioThane, paracord, the accessories and the pattern for marking out the holes. This way you will make the collar to the right size and you can attach the buckles properly. You can also download the pattern for the BioThane collar as a PDF. In this blog post you will find the instructions for making this dog collar. Of course, you can also make this collar without a DIY kit.
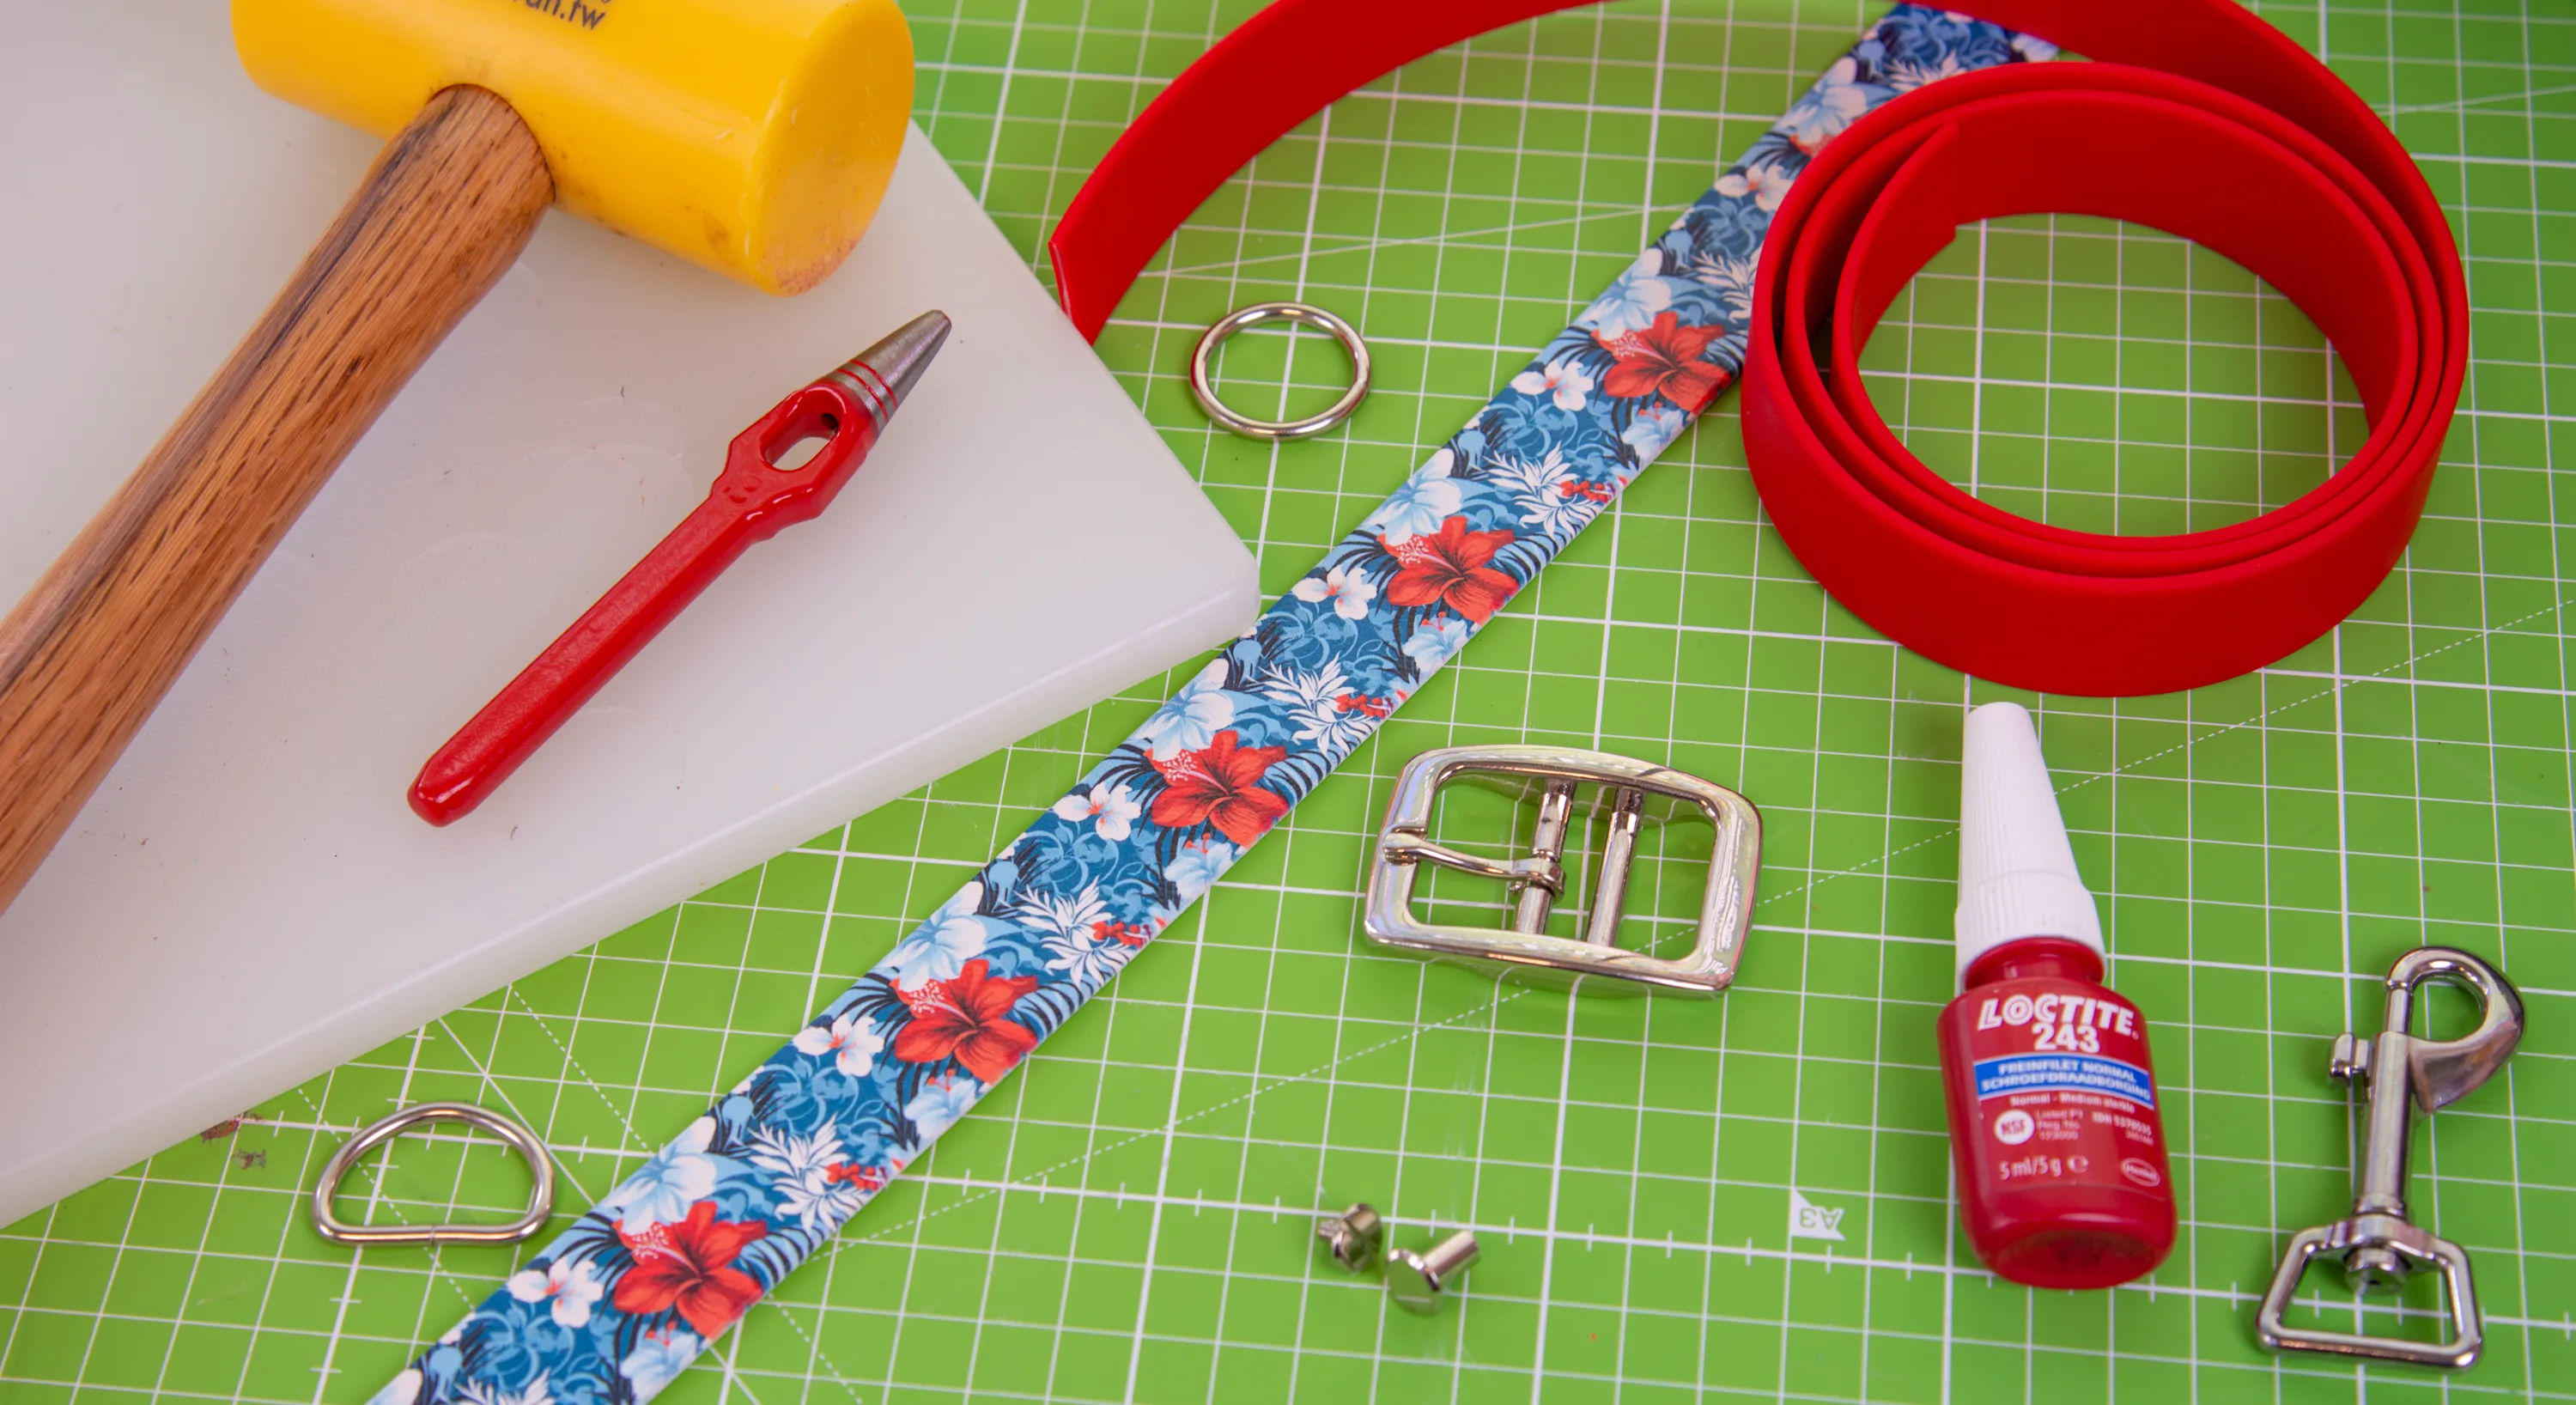
Required tools:
To make the dog collar with the materials in the DIY kit, you will need these tools.
- Glue or threadlocker
- Flathead screwdriver
- Rotary Punch
- Scissors
- Knife
- Ruler
- Pen
- Paracord Needle Type I
- Blowtorch
Step 1: Determine the right size
First, determine the size of the collar based on your dog's neck circumference. Tip: Take a well-fitting collar, close it and measure the inside size. This will tell you what size to choose for the BioThane collar.
For this collar, add 21 cm to your dog's neck circumference. This way, the collar will be the right size when you close the buckle in the middle hole.
Dog’s neck circumference + 21 cm = length BioThane
For example, if your dog has a neck circumference of 38 centimeters, you will need a BioThane strap of 59 centimeters. Tip: To be sure, try the collar on your dog again before cutting off the end.
Step 2: Make the BioThane collar
Follow the steps in the video below to make the collar. The video uses a template, you can use the paper template instead. Start with pattern part 1a. A BioThane template is also used for the end, but for this you can trace over the angled end from pattern part 1b.
Note! The video shows a 4 mm hole, but you need 5 mm holes for the screws in this DIY kit.
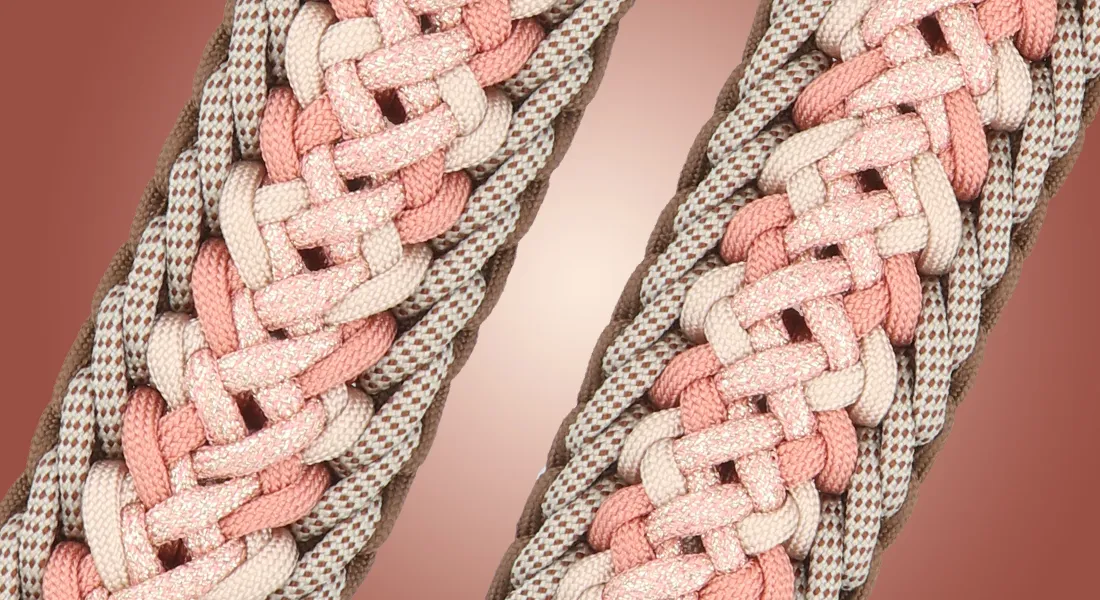
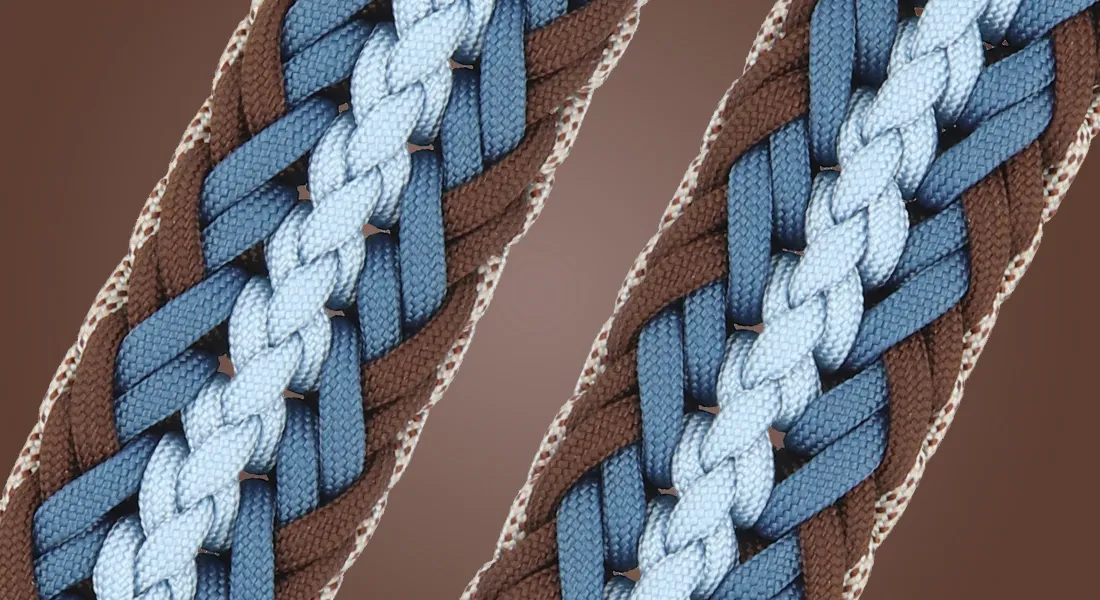
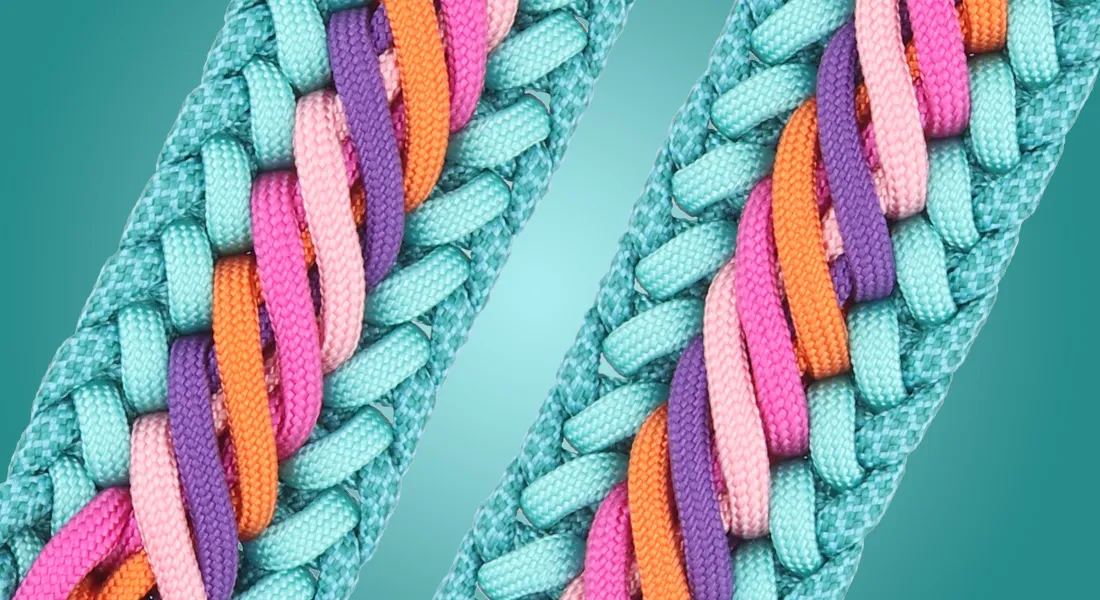
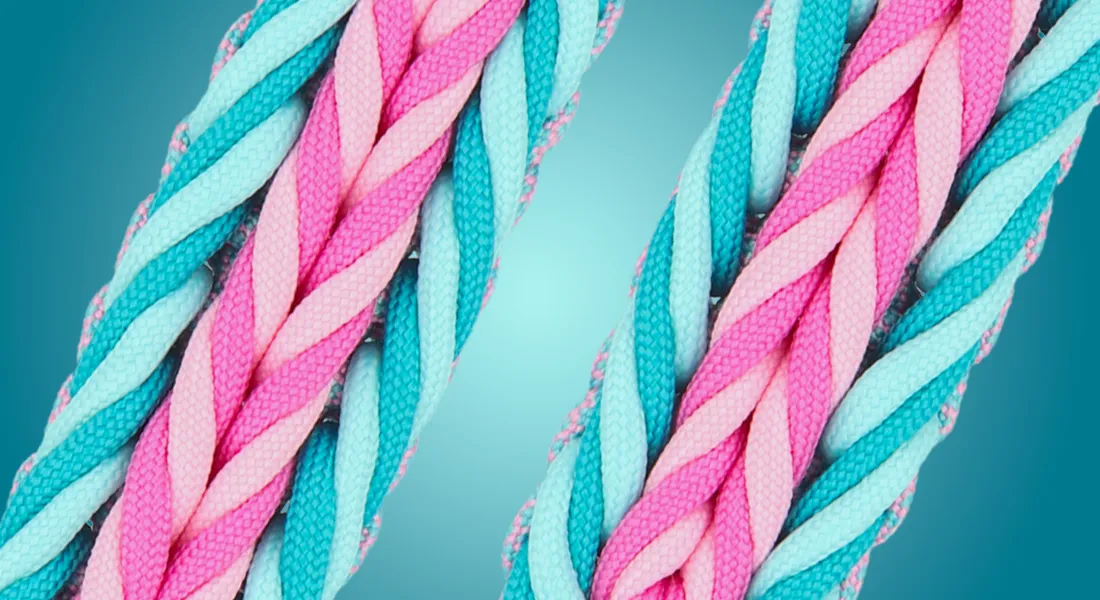
Step 3: Decorating with paracord and beads
Once you have finished the collar, watch the next video to finish it with paracord and slide beads. But without sliding beads is of course also possible.