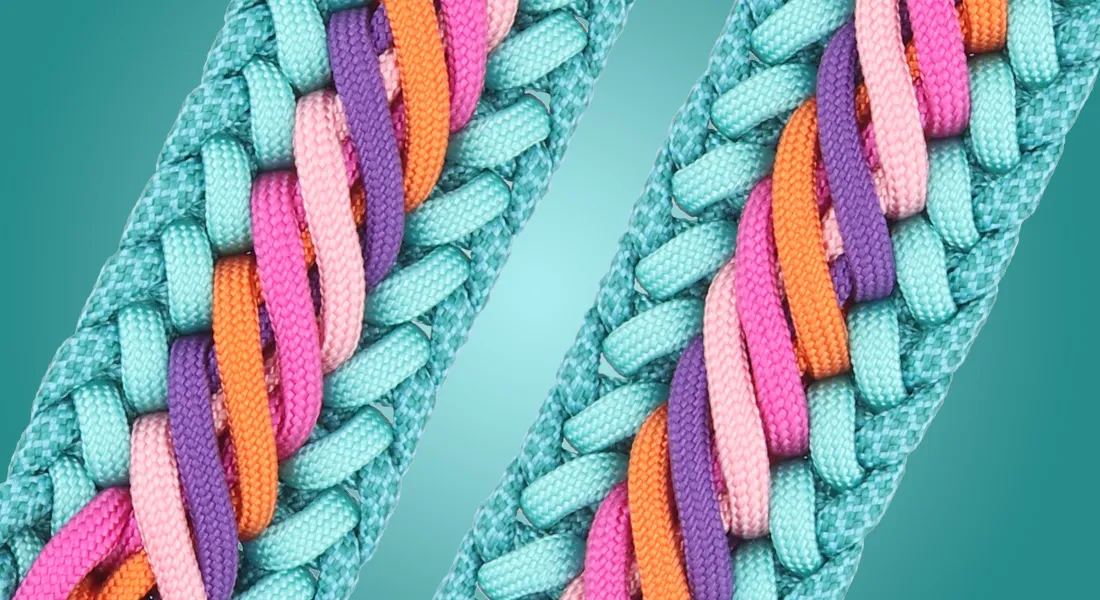
Make the Niki's Butterfly knot | Tutorial
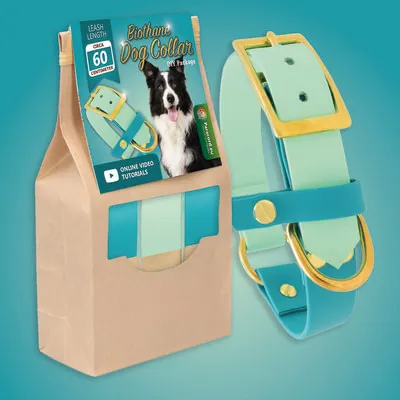
Make a BioThane collar | DIY kit instructions
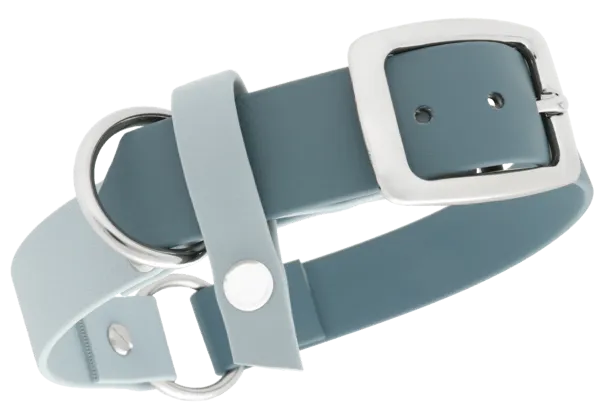
Want to make your own BioThane collar? Here you can see step by step how to make an adjustable BioThane dog collar in 2 colours using a handy pattern.
 Have you purchased a DIY kit for making a BioThane collar? On this page you will find instructions for this kit. Of course, you can also make the collar without this kit, you can find the materials on the product page.
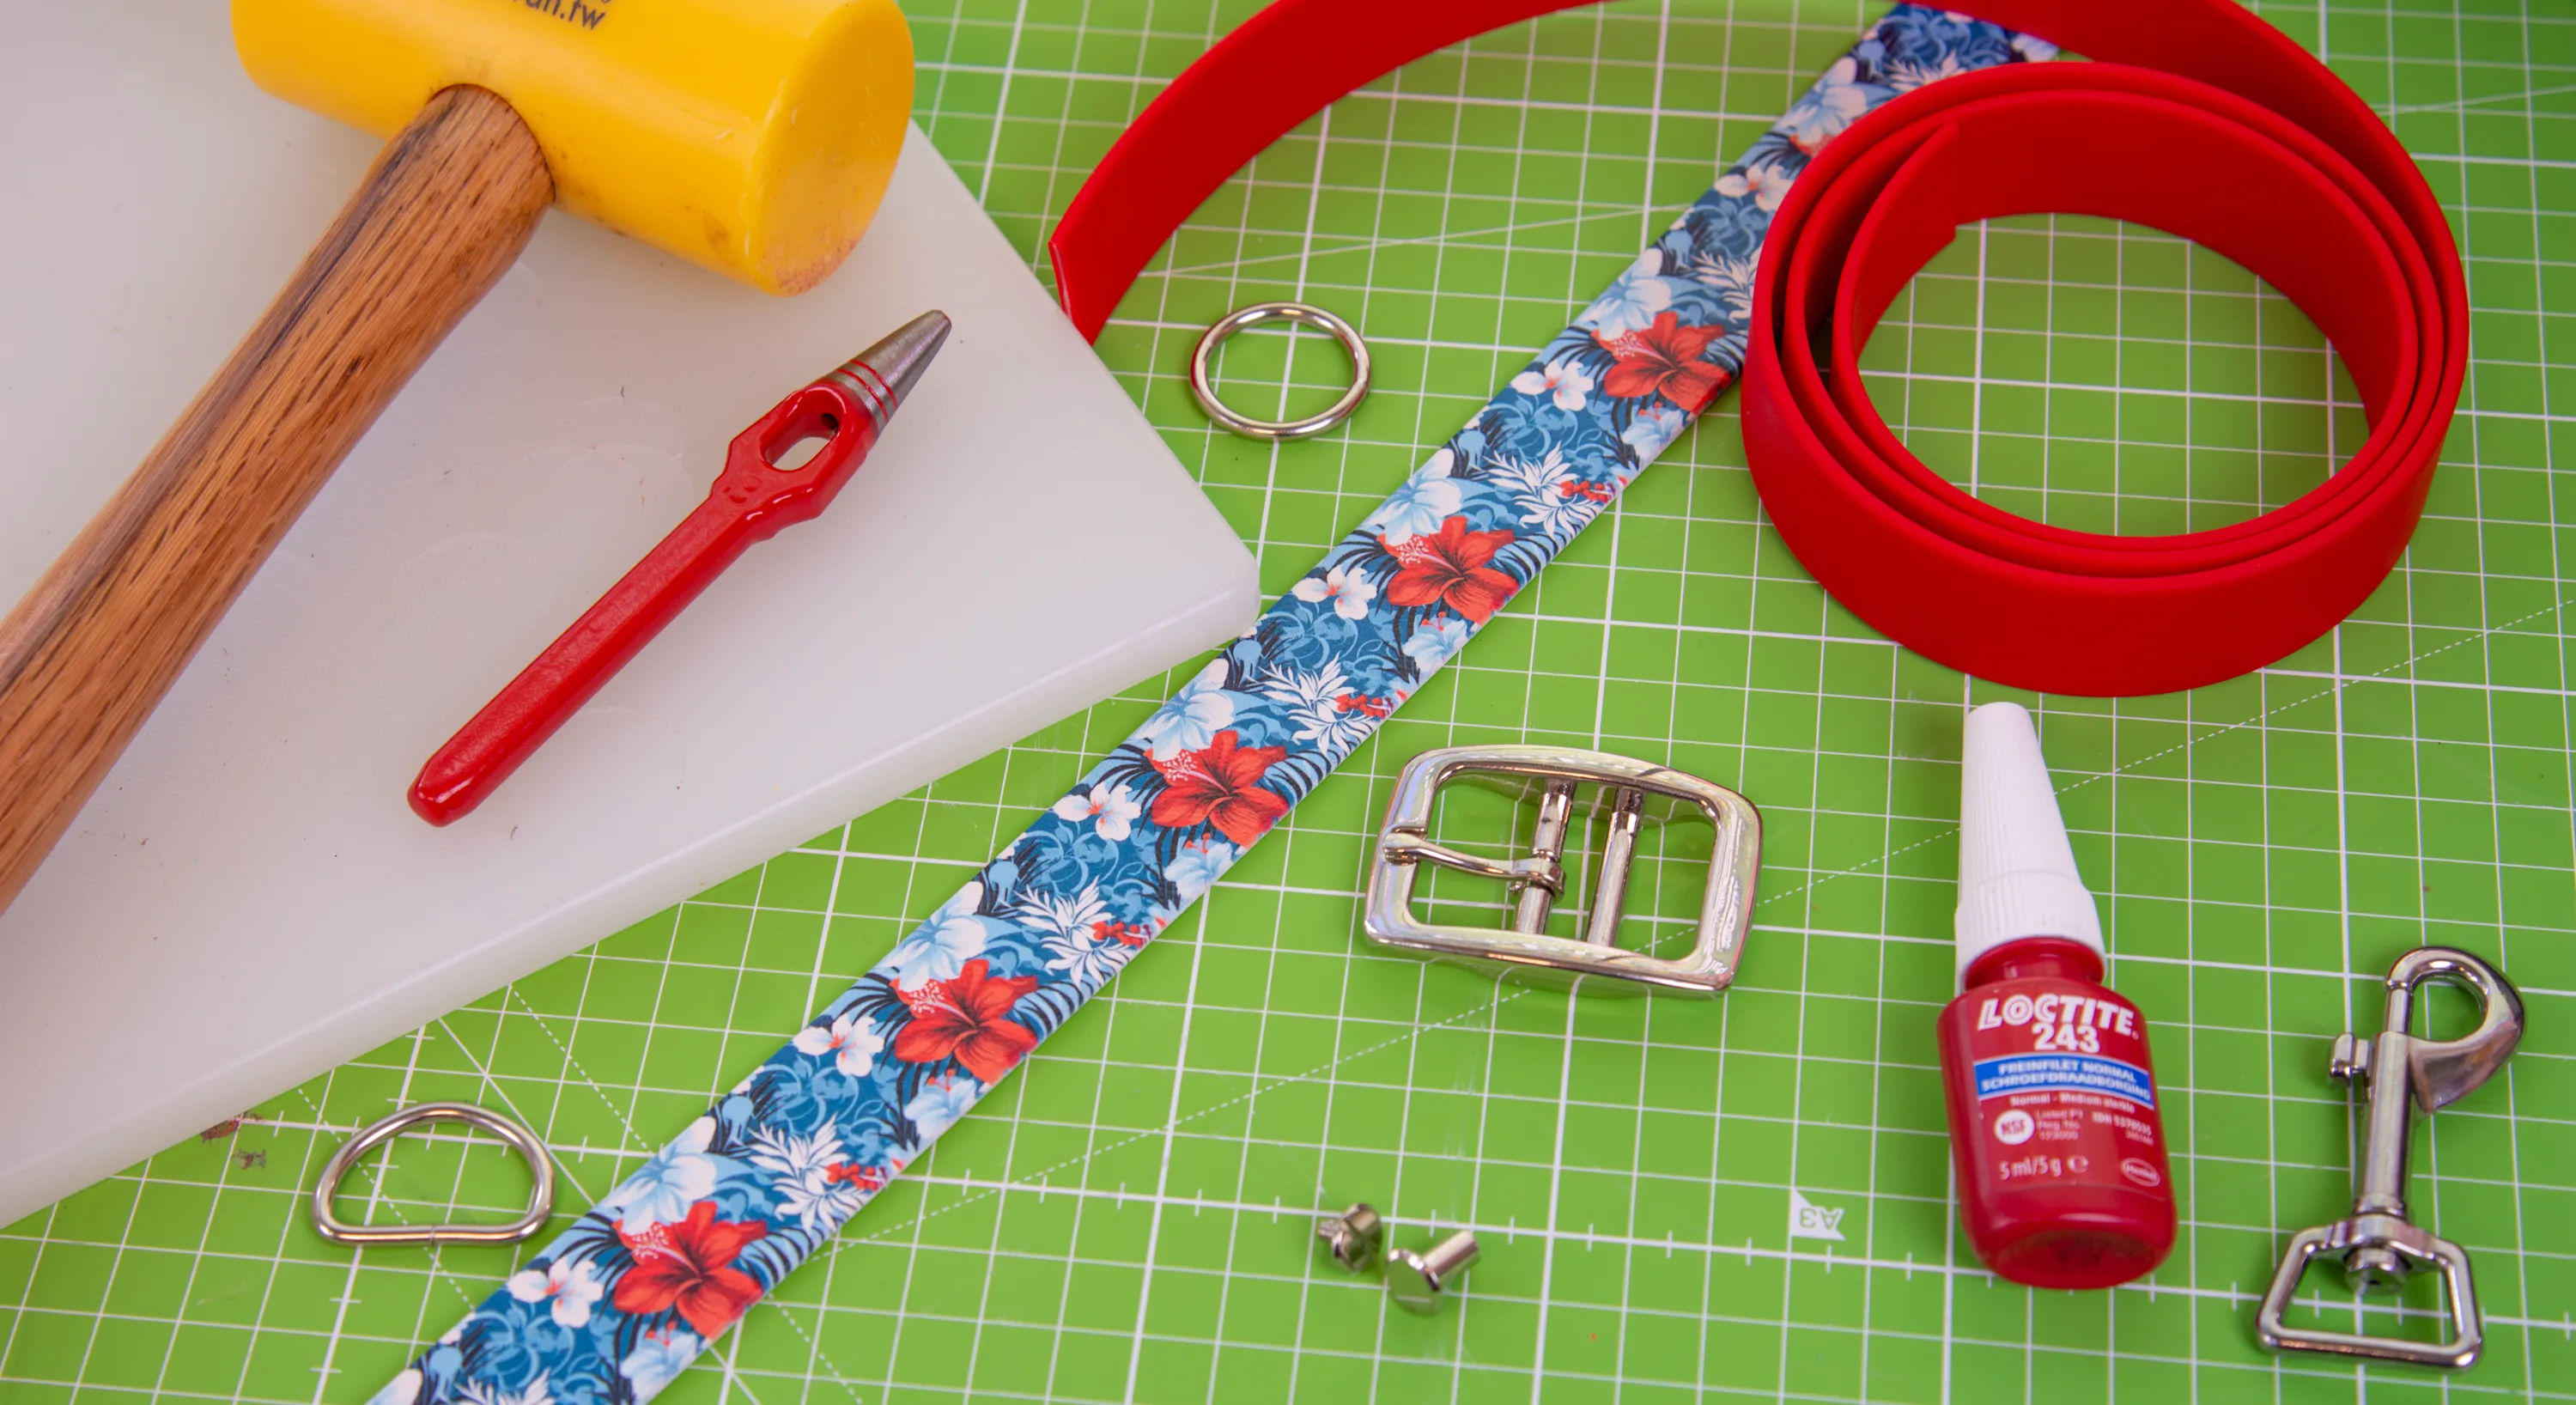
Handy to have on hand:
- Scissors
- Pen
- Glue or threadlocker (Loctite 243)
- Flathead screwdriver
- Rotary punch (or separate punches)
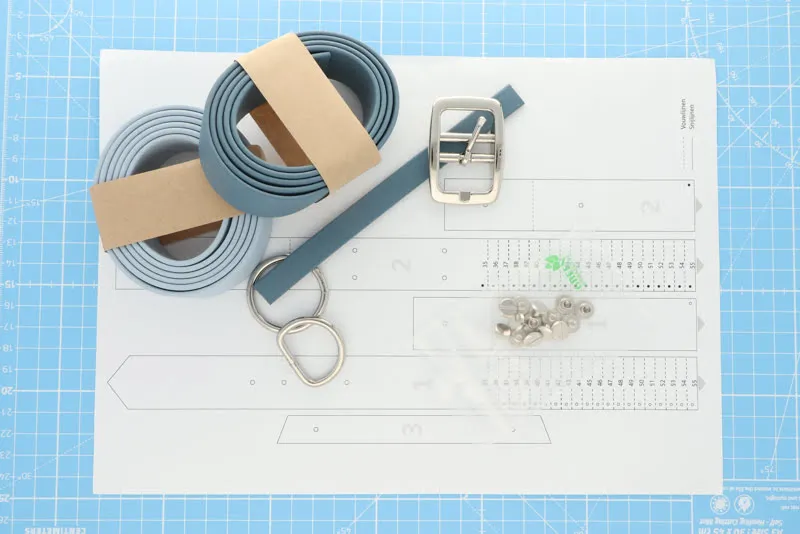
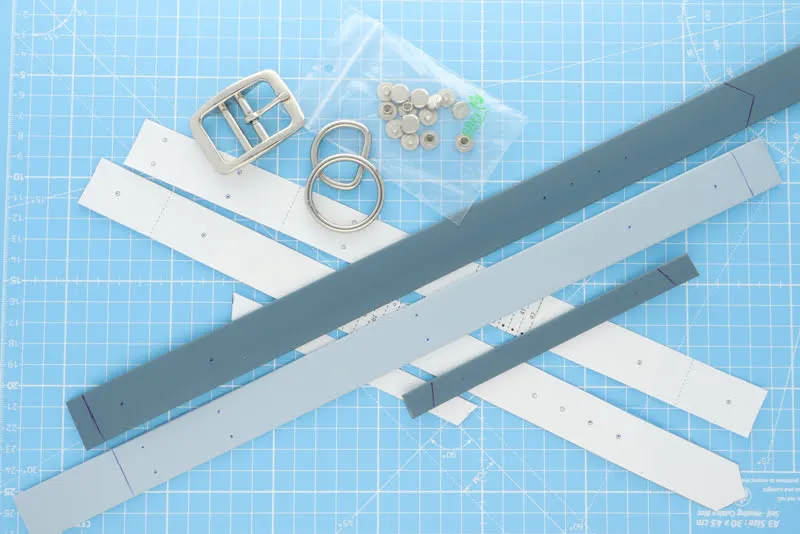
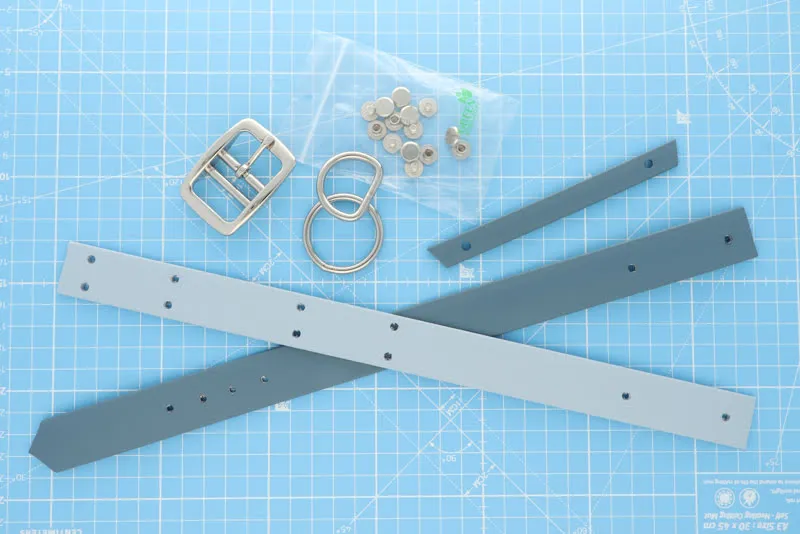
In this kit you will find the BioThane, the accessories and an A4 sheet with the pattern. You can download the pattern for the BioThane collar as a PDF as well.
Step 1: Prepare and customise the pattern
Determine what size the collar should be. For this, you take the dog’s neck circumference as a base. Tip: take a fitting collar and measure its inner size when closed. Then you know what size to make your BioThane collar as well.
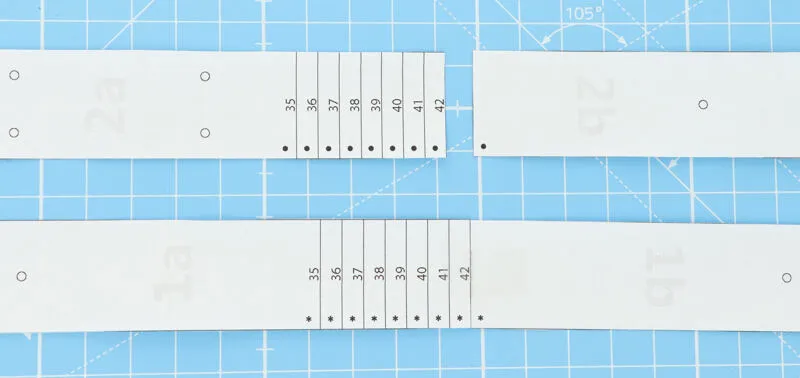
Cut out the pattern along the cutting lines and cut off parts 1a and 2a at the right number. Do you need a 42-centimetre collar? Then on the pattern you should cut off the parts at the number 42.
After cutting out, tape the a and b parts together. Make sure the asterisk of 1b ends up under the asterisk of 1a (see photo). Do the same for the black dots of 2a and 2b.
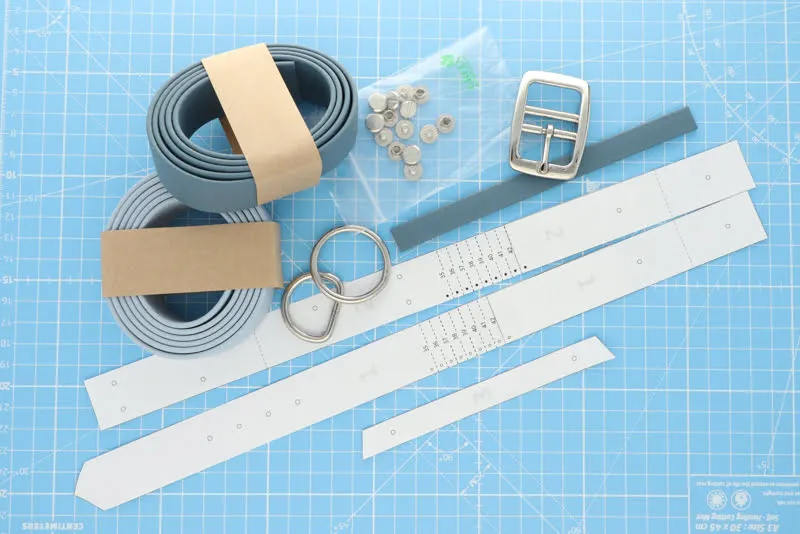
Step 2: Mark the ends and holes
Part 1 of the pattern is for the longest piece of BioThane (of 45 cm). You use the 40 cm piece for part 2 of the pattern. Part 3 is made with the 13 mm BioThane.
Lay the patterns on the BioThane and mark the ends with a pen. Then indicate where the holes should be. You do this by pressing through the paper with your pen.
Step 3: Cut to size and punch the holes
Cut the ends of the BioThane at the spot you have just marked with pen. It is useful to use sharp scissors so that the BioThane is cut as neatly as possible.
Next, make holes at the spots you marked with a dot. You can use a rotary punch for this. Are you going to work with BioThane more often? Then instead of the rotary punch, you can opt for better-quality, separate punches in the relevant sizes.
For the best result, choose two different sizes for the holes. Make holes of 3.5 mm for the 4 holes in a row for the closure (part 1a of the pattern) and choose 4.5 mm for the other holes.
Step 4: Attach BioThane to the ring
You are now going to attach the two parts of the collar to the ring. You do this with the 1b and 2b parts, folding these ends so that the holes are exactly above each other. Secure this with a chicago screw.
Before tightening the screws, put in a drop of strong glue or threadlocker. Loctite 243, for example, is very suitable for this. Then tighten the screw firmly using a screwdriver.
With all chicago screws, make sure their smooth side is on the outside.
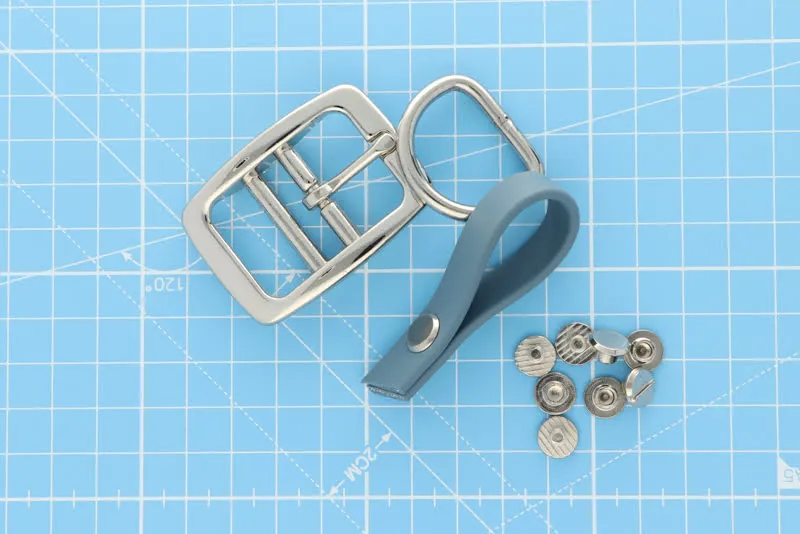
Step 5: Make the decorative loop
Take the 13 mm piece of biothane. Make a loop of this by joining the ends together using a chicago screw.
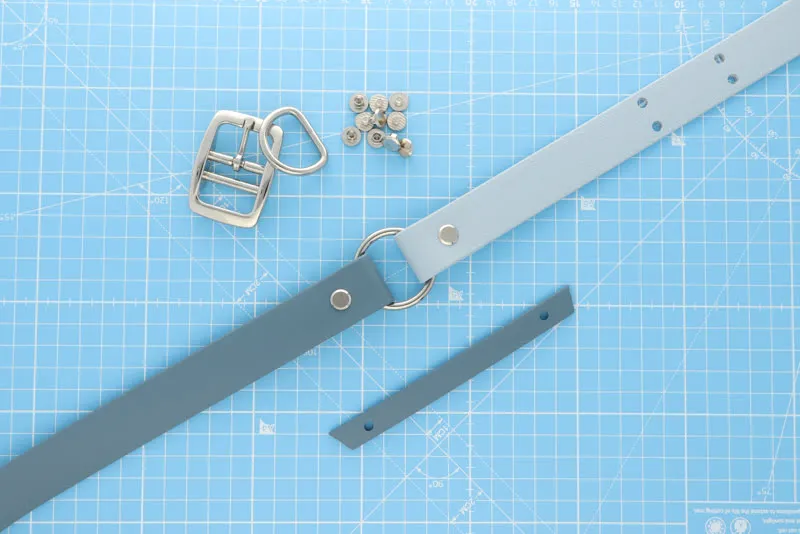
Step 6: Add the accessories to the BioThane collar
First slide the D-ring over the BioThane, then the decorative loop and finally the buckle. You will now secure these with the chicago screws. Make sure that the decorative loop points with the smooth side of the screw to the outside.
Place the D-ring and the decorative loop between the four holes. Attach the chicago screws, again using a drop of glue. Again, make sure the smooth sides of the screws are on the outside.

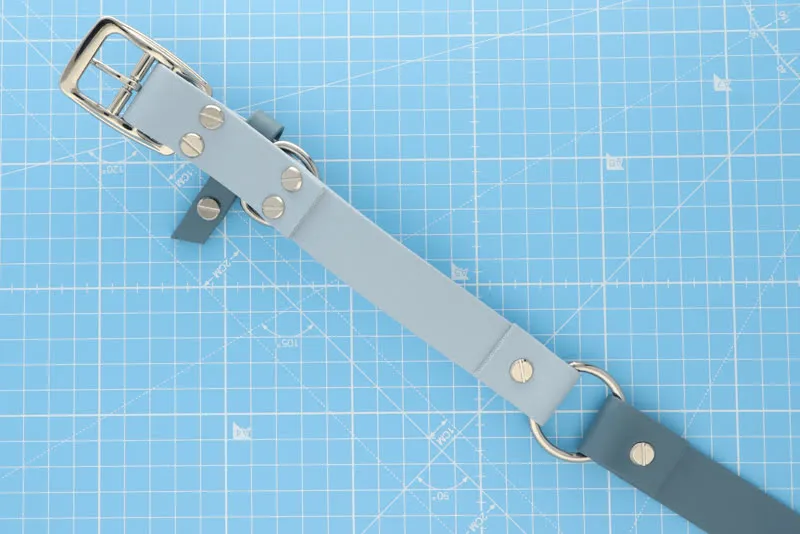
After attaching the accessories, the collar is almost ready. You can see that, with this pattern, the part with these attached accessories automatically curves slightly.
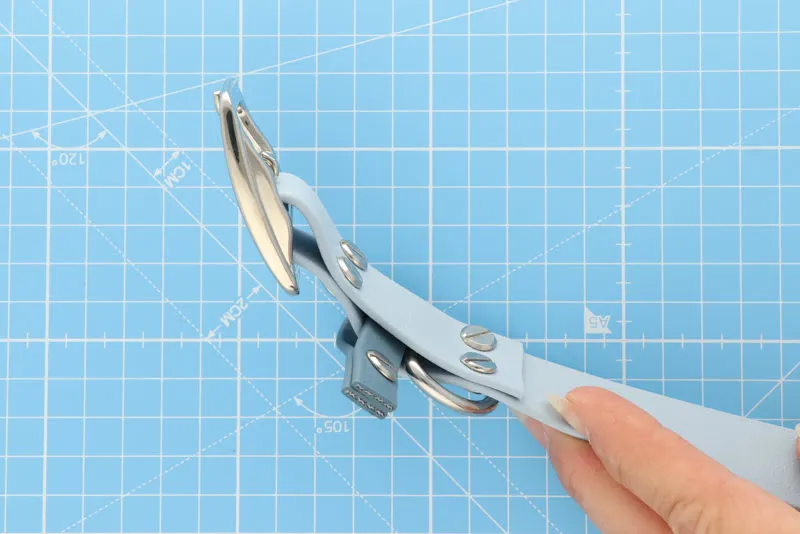
Put the BioThane strap through the belt buckle and close the buckle at the desired hole. You can tuck the end of the BioThane under the decorative loop. Your collar is now ready for use!