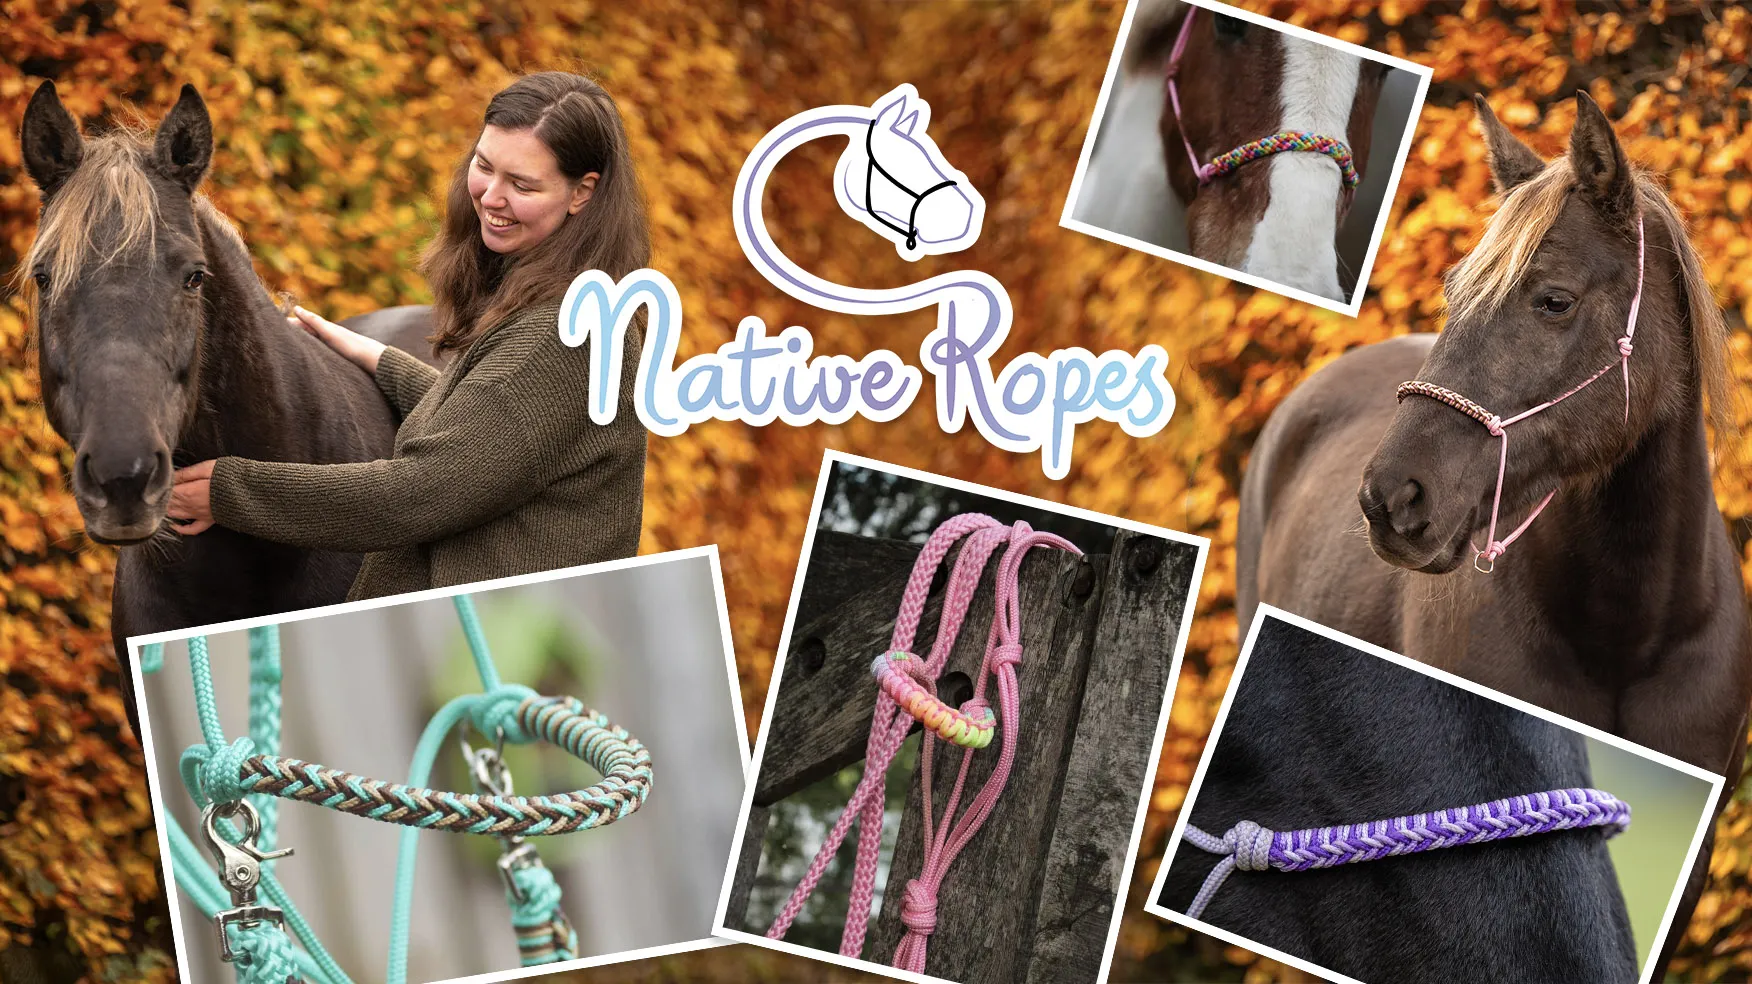
5 Tips for safely tying a rope halter
5 tips to tie a rope halter
You can make beautiful horse halters with all kinds of different knots and different types of rope. But what should you pay attention to when you make them? Ambassador Femke gives you 5 tips.
Halters have been used when training and domesticating horses for centuries. And there is good reason for that. Rope halters are light, easy to keep clean and very strong. The pressure of the rope on the nose makes the rope halter, when used properly, a great tool when training horses.
Making your own rope halter
Making your own halter is a fun activity and does not have to take long at all. With the beautiful colours and many types of materials, you can completely unleash your own creativity.
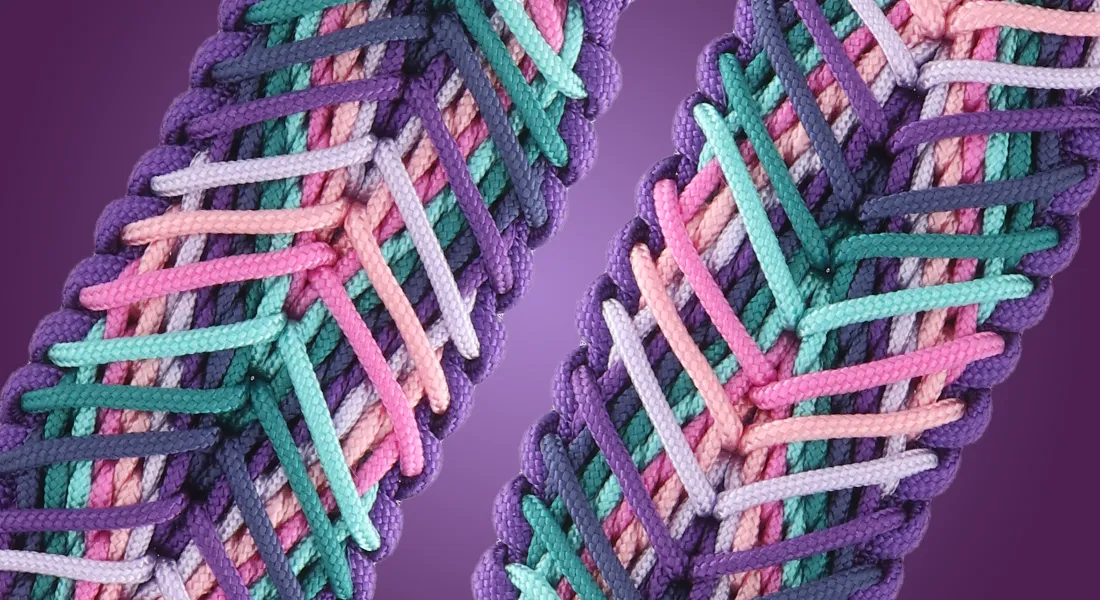
Most halters are tied using 6 mm round PPM. Do you have a large horse? If so, of course you can choose for thicker rope, like 8 mm PPM. You can also use different knots for tying the halter yourself, for example a fiador knot (left) and, as I always call it, an X-knot (right).
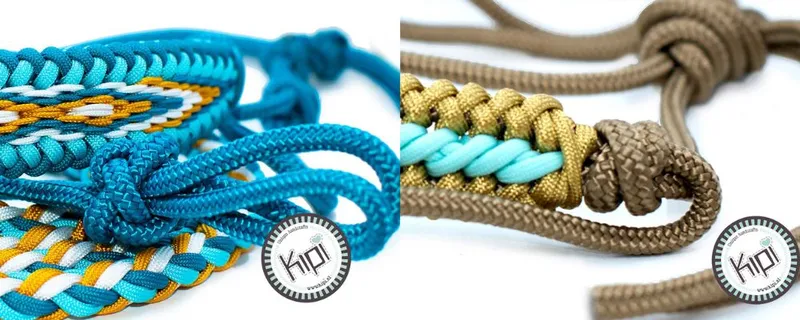
You can also choose your own style for finishing the nose part. For example, you can choose to finish with a braid using thin cord or choose a robust finish with 4 mm cord. Virtually any knot you can find can be used to finish your rope halter.
The possibilities are endless. But you do want the result to be a well-fitting and robust halter. I give 5 tips for making a good rope halter.
 1. Using correct sizes of your horse/pony
Make sure you have a halter on hand that fits your horse or pony properly. You can simply lay the rope along the different parts of the halter: in this way you can be sure that the sizes will be correct when it’s finished.
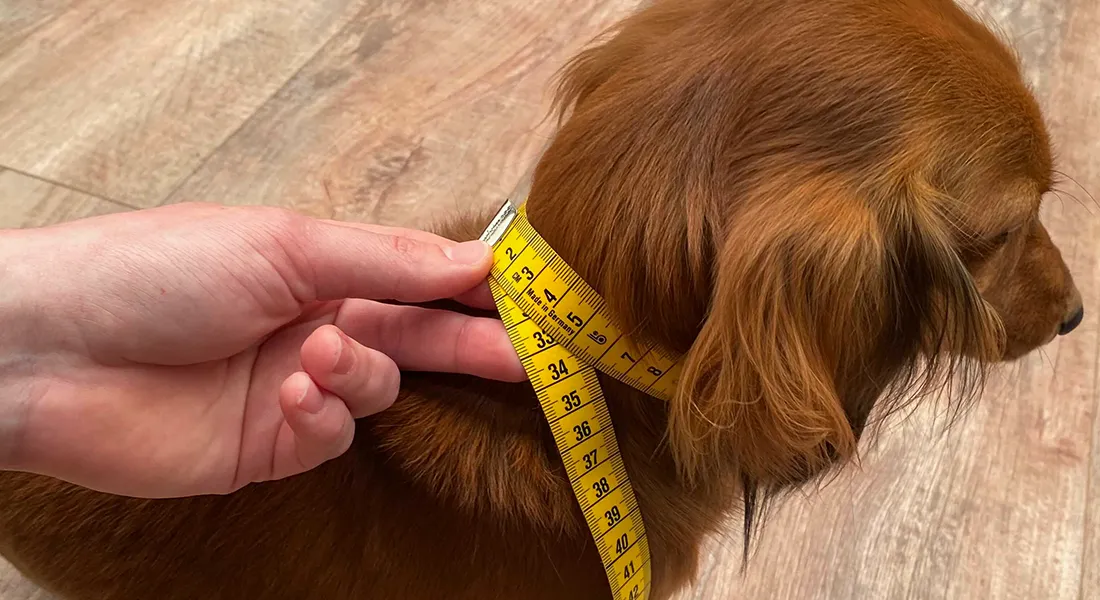
No right size halter on hand? You can then measure the dimensions on your horse yourself. Measure the cheek pieces, the headpiece and around the nose where the noseband will be. If you work with these dimensions, the halter should fit. And don't forget: a rope halter does not have to be completely tight.
2. Extra length to decorate the nose part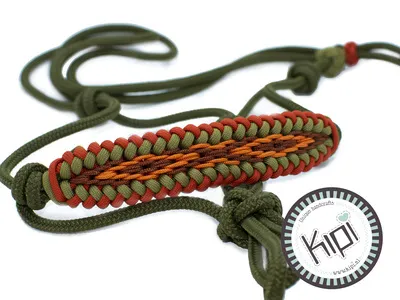
Are you going to decorate the nose part of the halter? Consider that you should always add a few centimetres extra at the nose part, depending on the exact decoration. Because you tie around the rope, this part becomes thicker and therefore the nose part will be slightly smaller.
An extra 2 or 3 centimetres is usually about right. Of course, you can also choose to leave the nose part undecorated.
3. Do not begin in the middle of the rope
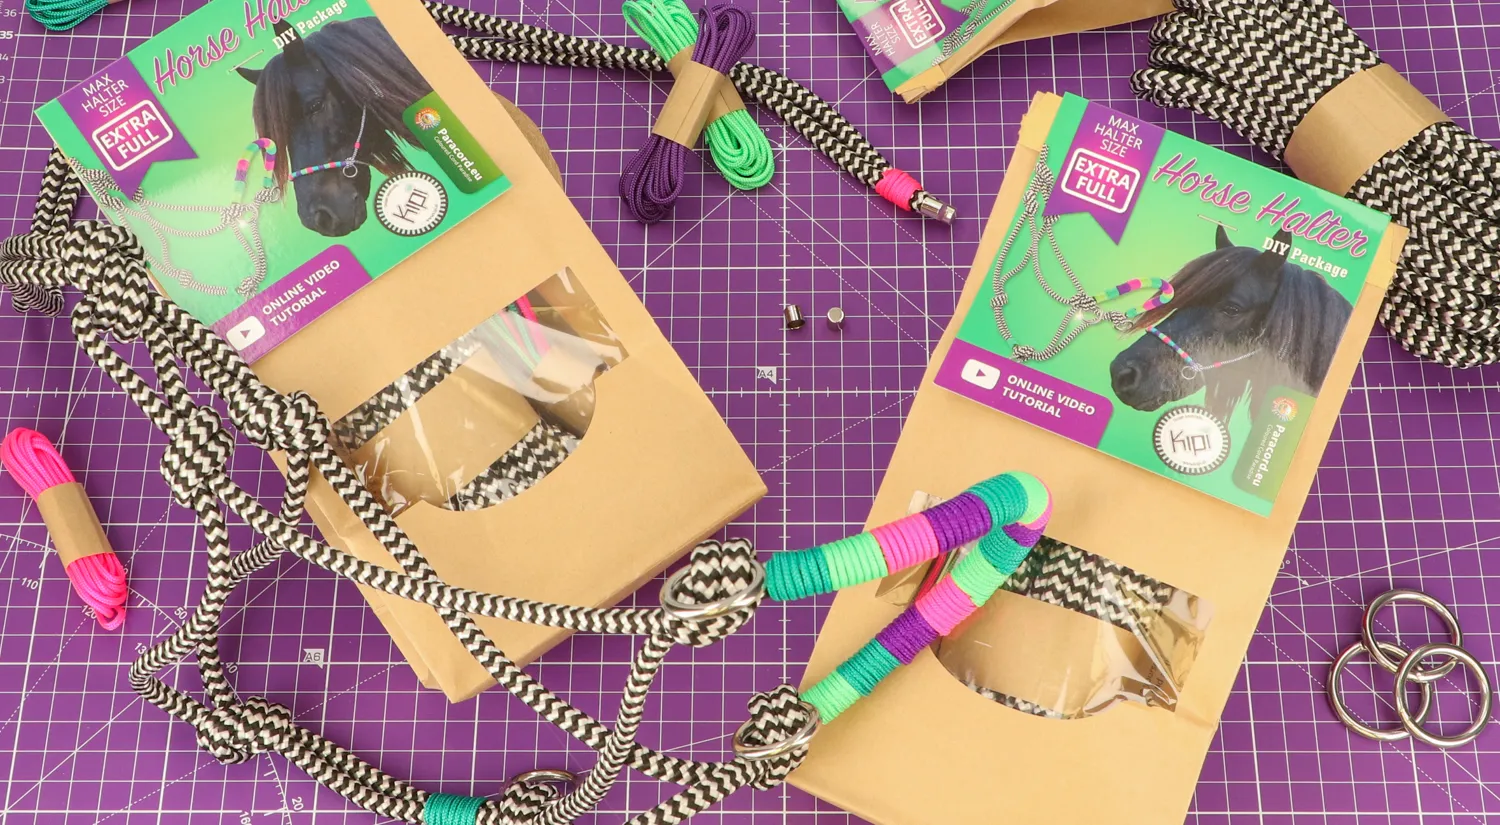
Make sure you have enough rope before you start tying. For a Full, you can easily use 7 metres. Never start tying right in the middle, but about half a metre from the middle. This is because you will need more rope on one side.
After the nose part, you first tie the side of the long rope, then you tie the other side, where you use both the long and the short rope. That is why you need more rope on one side than on the other side.
4. Practice the knots beforehand
Consider in advance what knots you want to use for the halter. It often helps to practice the knots beforehand. By doing this you will already know them when tying the halter, and you won't get confused as easily.
Also consider beforehand whether you want to add extra rings for using the halter as sidepull. Then you can also practice adding rings ahead of time. During the workshops I give, I have noticed that it helps participants to first practise the knots before making the halter itself.
5. Lay the halter down regularly
Because you start at one end and finish at the other end, the knots for a rope halter can be quite confusing. For this reason, lay the halter down occasionally in the way it should go around the horse's head.
By laying the halter down, you avoid confusion and can see your progress clearly. It can be handy to hold the side with the loop on the side where you place the halter around the head. So if you imagine the horse is standing in front of you, hold the loop on the right-hand side.
When do you use this halter?
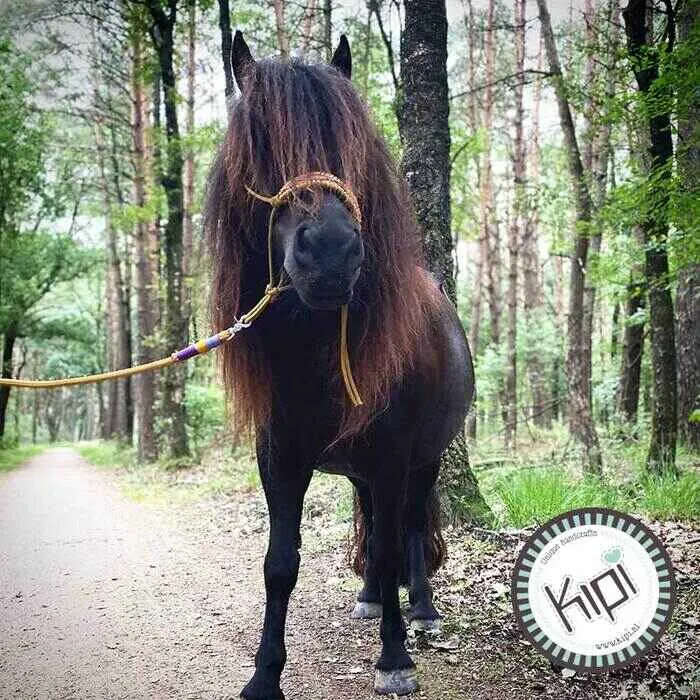
Of course, the rope is very strong and this can also pose a hazard. Because there is no ironwork in the halter and the rope is so strong, it is not wise to tie your horse to anything with this halter. In the unfortunate event that the horse is frightened and pulls to get loose, the rope will not break. This can cause permanent injury.
For training, walking and other activities, the rope halter works very well. There are various disciplines in which they deliberately choose only to use rope halters. For example, you commonly see these halters in the western world, and they are also widely used in natural horsemanship.
Where can I find instructions?
Are you unsure about how to make or use the rope halter correctly? The book 'Halter-Tying Success' by Diane Longanecker clearly shows how to make a rope halter step-by-step. You can also find many videos on this subject on YouTube.
Of course, you can also always join one of my workshops in the Netherlands. Please contact me at kipi.nl, and we will look at what is possible.