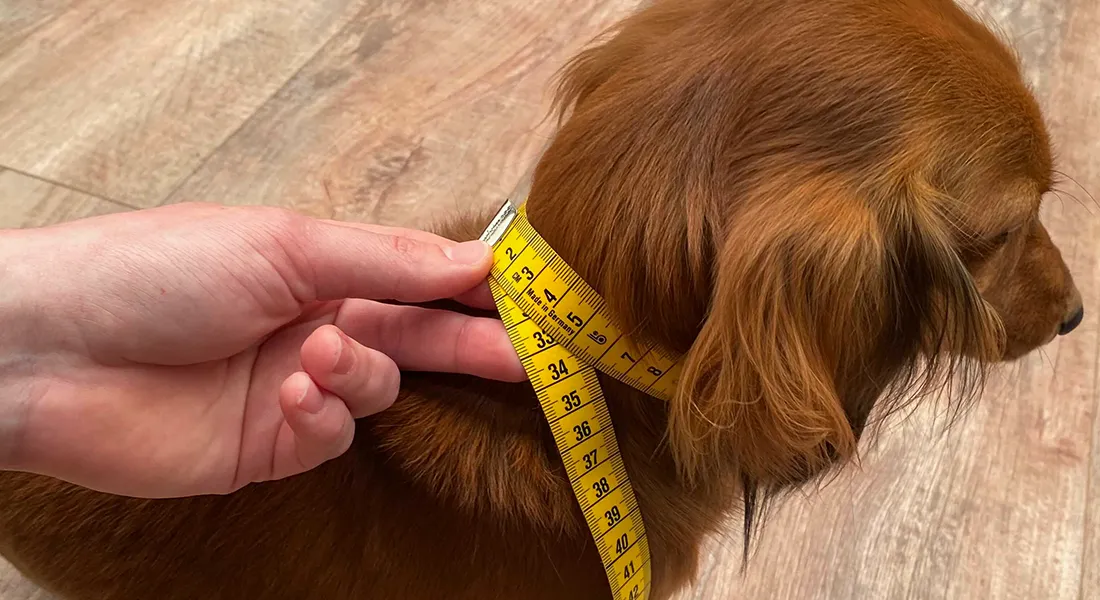
Measuring a dog's neck: what do I pay attention to?
5 tips that every BioThane maker should know
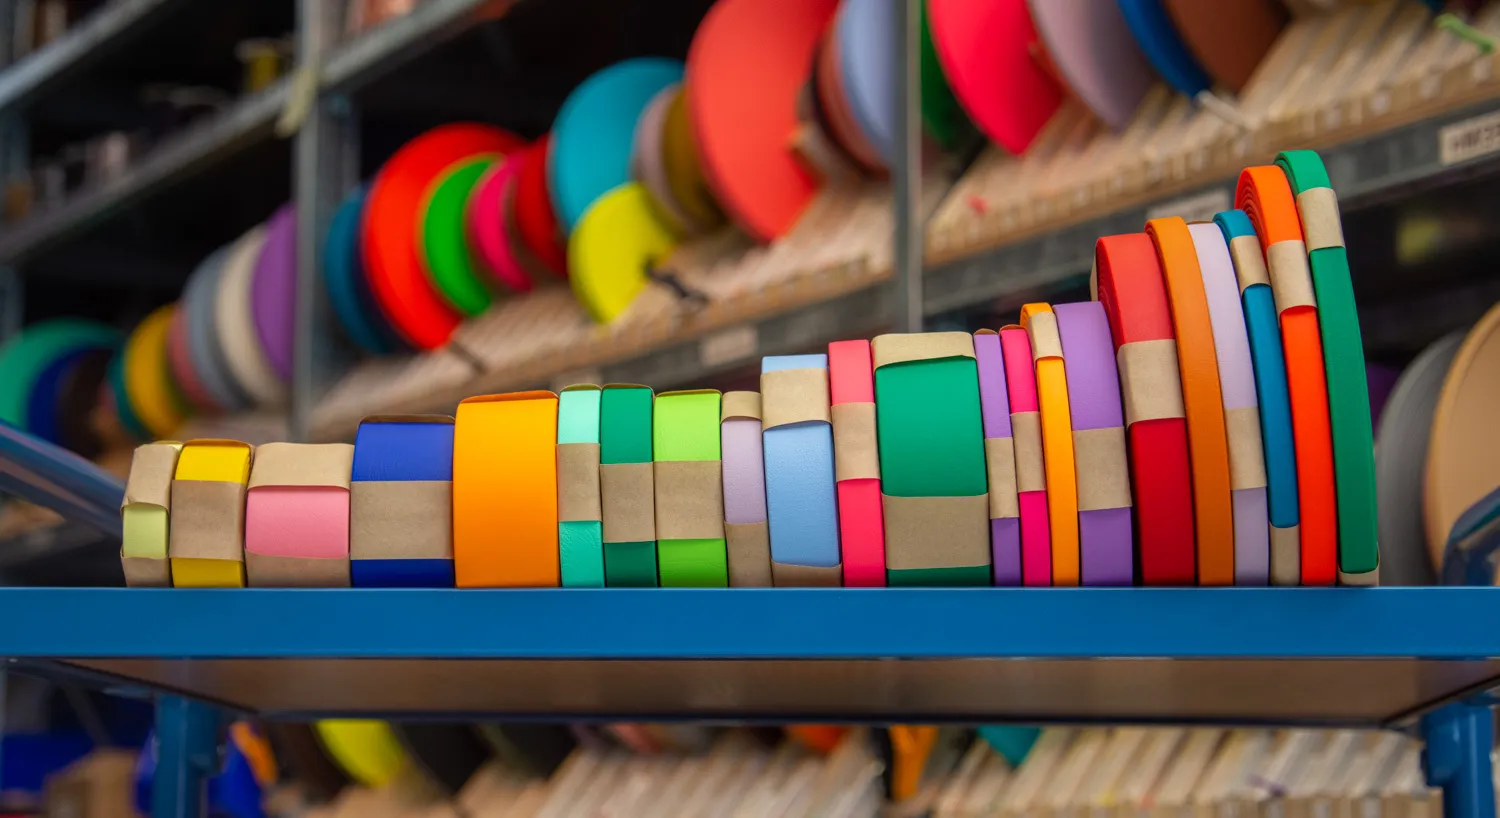
We all can agree that BioThane is a magic material. It’s strong yet very comfortable for pets and humans. Beside, it’s colorful and easy to maintain and it’s perfect for a lot of projects. From pet accessories to home appliances and human accessories. Even if you are a new maker or you already have some experience, these five useful tips that I prepared for you will help you improve your future projects.
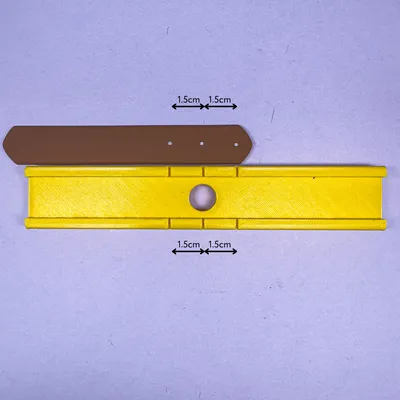
Tip 1: KEEP 1.5CM BETWEEN HOLES
I am sure you want to keep the integrity of BioThane as much as I do, that’s why my tip is to keep at least 1.5cm between each hole. This applies to hardware placing, adjustment holes, or decorative holes if there are any.
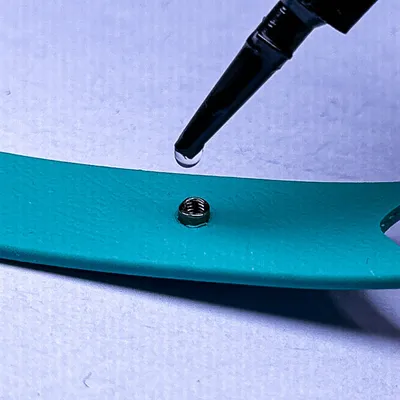
*The spindle moulds are a huge help because of the sideways measurements that are exactly 1.5cm apart (see the picture below) and you can mark on the BioThane in order to keep the same distance between the holes.
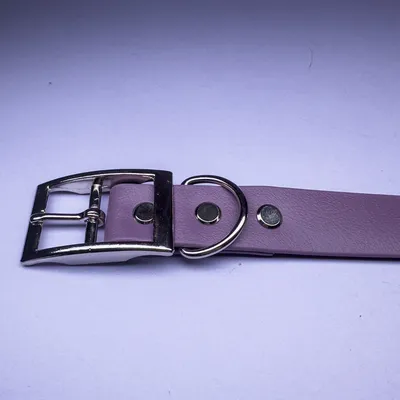
Tip 2: HARDWARE PLACING AND QUALITY
Maybe you wondered if the BioThane accessories are strong enough for a specific breed or activity. The short answer is: yes. But keep in mind that before the BioThane, the one that is more likely to break is the hardware. Here I come with some useful tips about hardware placing on your next project and a little talk about quality hardware.
The hardware placing is an important step we should take care of. The force of a pulling dog will be on the D-ring and the close-by rivet. Therefore, if the close-by rivet pops off, we still have the safety rivet that has no pressure on and it will stay in its place until the dog is in a safe place. My tip is to use the next structure (also shown in the photo below), buckle - rivet - D-ring - rivet - rivet.
Another important step is the hardware quality. Make sure you check the hardware specification before making a choice (breaking load, material, etc) You should always choose the hardware based on the project.
To make this easier for you, I prepared an example. I have to make a collar for a 2-year-old Amstaff who loves mud, water and occasionally pulls on the leash.
I will choose a collar design that has a 38mm base and stainless steel hardware. This is why:
- The 38mm BioThane has a minimum breaking strength of 678 kg which is perfect for big and strong dogs.
- The 38mm BioThane will be more comfortable for the dog if it’s an occasional puller.
- Being a mud and water lover, the stainless steel hardware is the perfect choice to keep the collar in good shape for a long time. The stainless steel hardware will not rust in time which will allow that dog to wear the same collar for years.
- The stainless steel hardware is stronger than the nickel ones. For example, a stainless steel double bar buckle has a minimum breaking strength of approx. 500kg while the nickel double bar buckle has a minimum breaking strength of approx. 160kg.
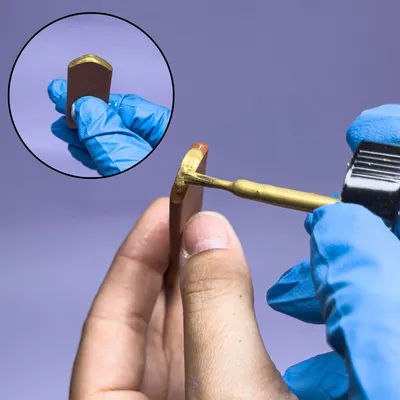
Tip 3: GLUE YOUR SCREWS
If you're using Chicago screws, you may have been worried about the screws coming undone in time and we don’t want that to happen! We can prevent this by using a drop of glue (I recommend using Loctite 401) before screwing them in place.
*Make sure this is the final step; after you glue the screws, you will not be able to open them again.
Tip 4: THE PRESS, MOULDS & PUNCHES
Tools are important for every maker. Make sure you choose the time-efficient tools that will add a professional touch. In my opinion, these are the three must-have tools for any maker:
Spindle Press: is time-saving, makes clean holes, is very easy to use, and very important, you will not experience sore arms after using it.
Spindle Moulds: are a big help for marking the holes in order to be centered or sideways and will constantly keep the 1.5cm between each of them thanks to the sideways measurement lines.
Strap End Punch: will add a professional touch. Even if you’re going for the round type, for the oval type or maybe for another shape.
Tip 5: HOW TO USE ANGELUS PAINT ON BIOTHANE
We all want to add a personal touch to our projects. That's why we're painting (or splashing) on BioThane. We want quality paintings, therefore I recommend Angelus paint. After testing, this paint is the most reliable for BioThane. It’s the only paint that will stay in its place after being exposed to salt water, sun, freezing, and many more. These are the steps I recommend you to follow in order to successfully paint/splash on BioThane:
- Prepare the surface. Clean & dry the BioThane using a soft sanitizer and rinse with water before painting on it. Let it dry naturally.
- Paint/splash the BioThane and let it dry for 24h-48h. You can rinse with water after that time passes.
- Time is the best way to seal the paint onto Biothane. I had the best results using ONLY Angelus Paint, the finisher will peel off along with the paint.
- Keep a moderate temperature in the room. If it’s too hot, the drying process will take longer and may not be successful.
- Paint the edges. Add a colorful touch while keeping the core protected; paint the edges and let it dry.
- If you want to erase something, you can do it while the paint is fresh using sanitizer.
*Avoid painting/splashing on very light BioThane colors because there is the risk of paint transfer. I would suggest avoiding painting on white and pastels especially if you want to use intense paint colors.