Make the Niki's Butterfly knot | Tutorial
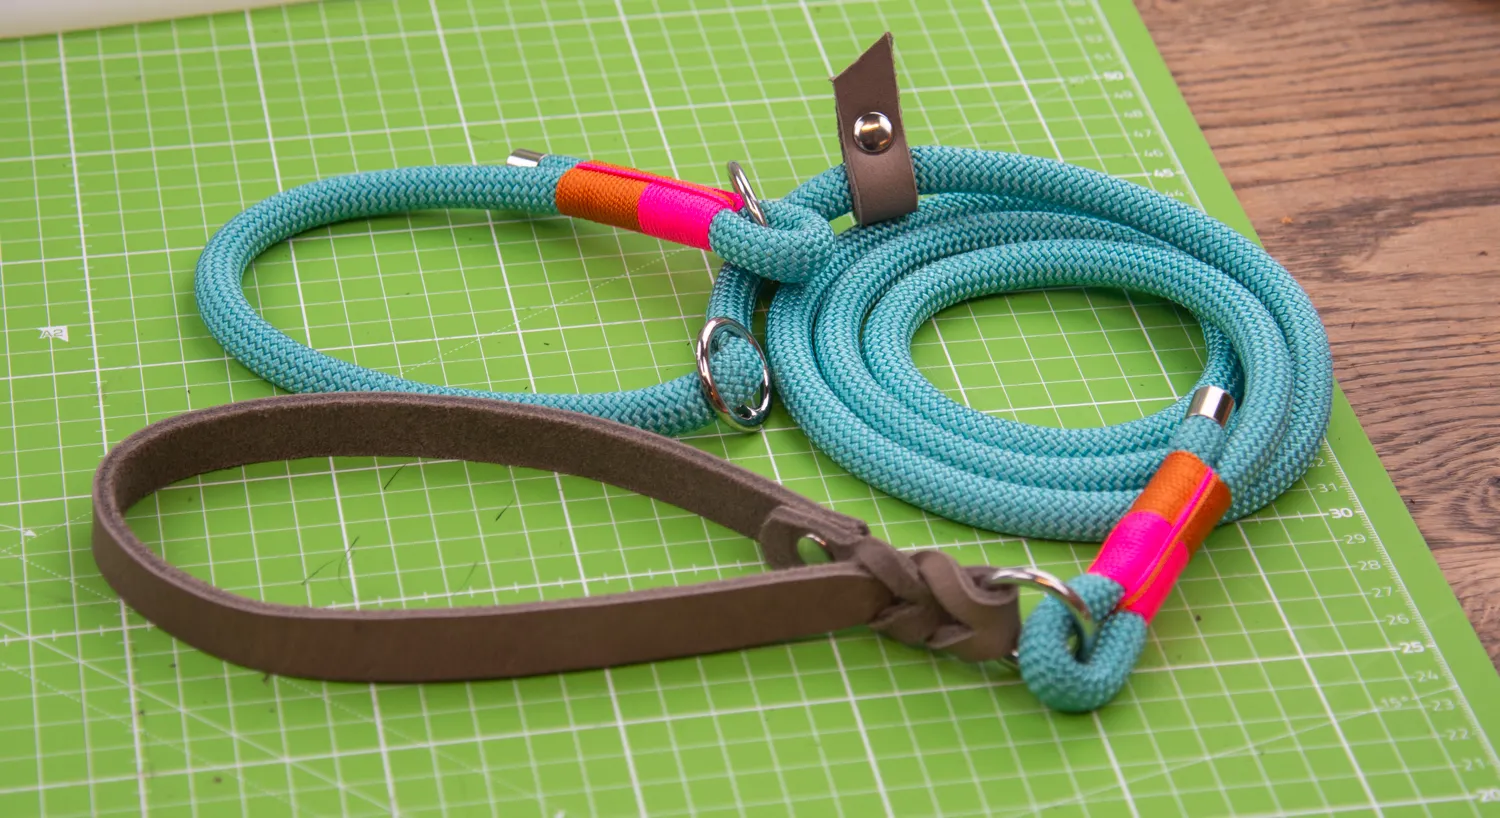
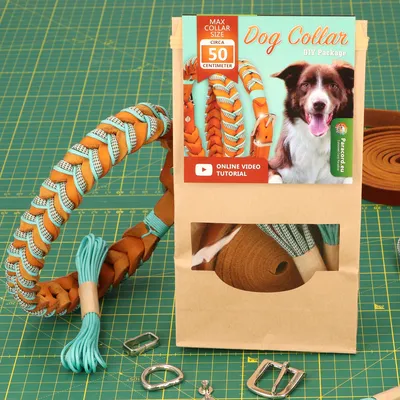
Make a leather collar with the bleed knot | Tutorial DIY kit
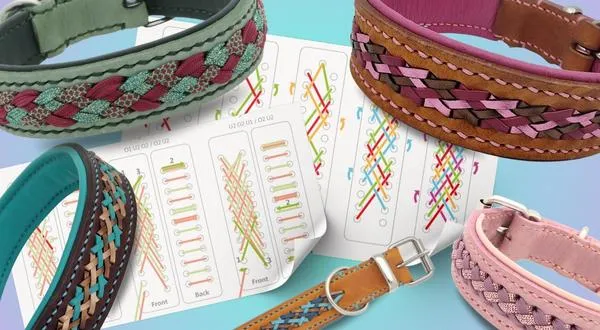
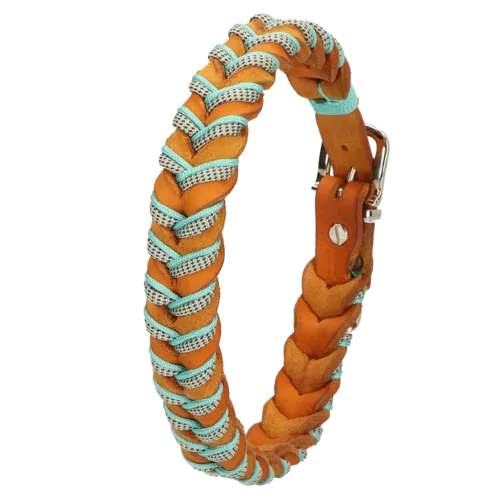
Make a braided leather collar for your dog with the Bleed Knot! You make this adjustable collar out of greased leather and decorate it with paracord.
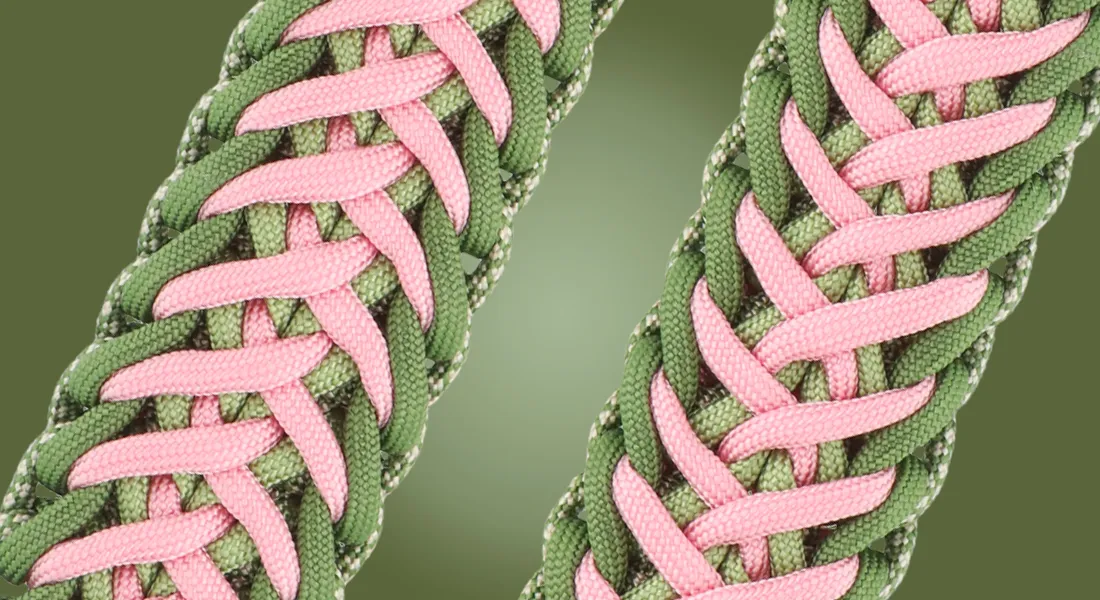
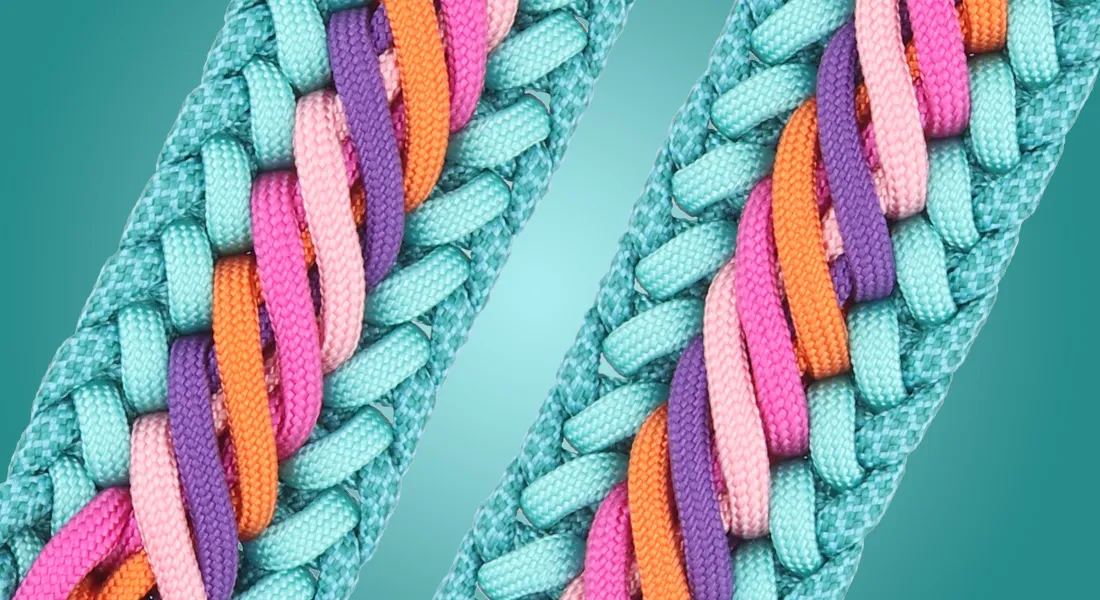
 The bleed knot, sometimes referred to as blood knot, gives the impression of braided leather due to the v’s you form. For this design, greased leather, paracord type 3, paracord type 1 and micro cord are used.
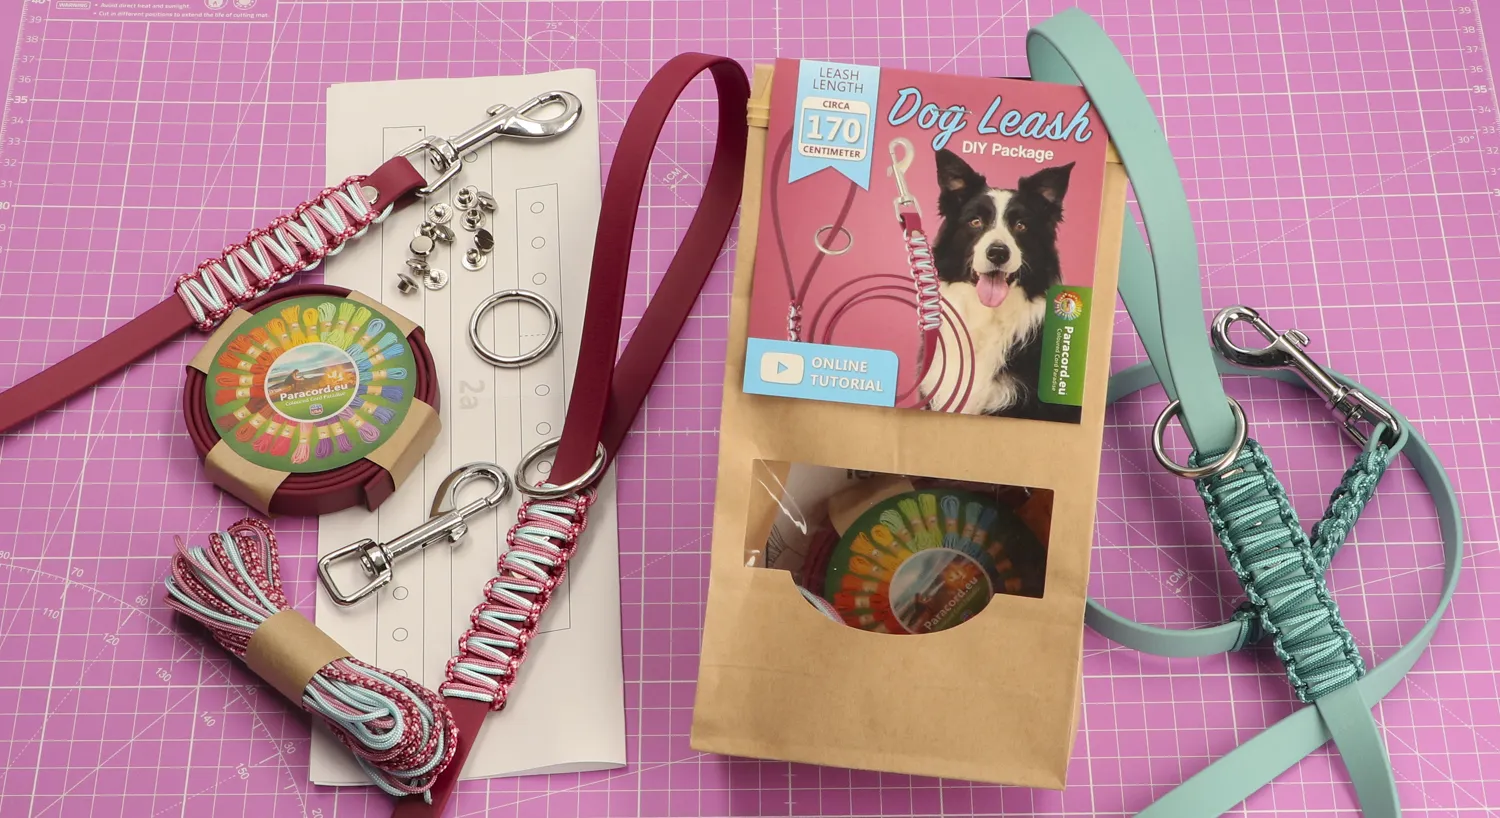
For this tutorial, we assume you are working with the DIY kit for a bleed knot collar. Of course, you can also make this collar by arranging materials yourself and following the instructions.
Useful tools
In addition to the materials in the kit, you will need these tools:
- Scissors
- Sharp knife
- Blowtorch or lighter
- Rotary Punch
- Ruler
In the tutorial, needles are used for paracord type 1, type 3 and micro cord. For the type 1 and type 3 needles you can use a crochet hook as an alternative, for the micro cord needle you can use a normal sewing needle.

Greased leather with chicago screws
Using chicago screws in greased leather is not always advisable. This is because greased leather is very flexible and when force is applied, the holes may stretch and the chicago screws can come loose. If these screws are used to fasten the leather of the collar, the collar comes apart and the dog gets loose. Obviously, that’s something we all want to prevent.
In this kit, we do use a chicago screw, but for the sole purpose of keeping the buckle and the passant ring neatly side by side. The leather itself is fastened by it being braided through itself with the bleed knot. Should the chicago screw come loose in this collar, only the accessories will have a bit more room to move, but the collar is still secure around your dog’s neck.
Do you want to work with greased leather more often and to make other designs as well? Make sure you don’t use chicago screws for the fastening of the leather, but you can use them decoratively. You can secure the leather safely by stitching.
Determining the length
Using the materials in the kit, you can make a collar with an inner size of up to 50 cm. To ensure the collar is the right size, you need to know the dog's neck circumference.
With these materials, you can use the rule of thumb: dog's neck circumference in cm - 3 cm = length from buckle to end of braided part. Are you making the collar for a dog's neck of 42 cm? Then continue with the bleed knot until the buckle and braided part together are about 39 cm long.
When you have reached this length, you can start finishing the braided part as shown in the video. When you start making the holes to make the collar adjustable, you are going to determine the size more precisely.
You want to make the first hole at exactly the right size for the dog. You can easily measure this by putting the collar on your dog and seeing where the hole for the buckle is needed. Make sure you make another hole 15 mm apart on either side of this first hole so that the collar will be adjustable.
Making the Bleed Knot collar
The video below shows how to make the leather collar with the bleed knot. You will find additional information in the subtitles.
The video starts with a tip on how to polish the edges of the leather. This is certainly not required and if this is your first time working with leather, we recommend not doing this. Would you like to make more leather creations in the future? Then this might be interesting for you. In the video, we use Tokenole and a wooden slicker for polishing the edges.
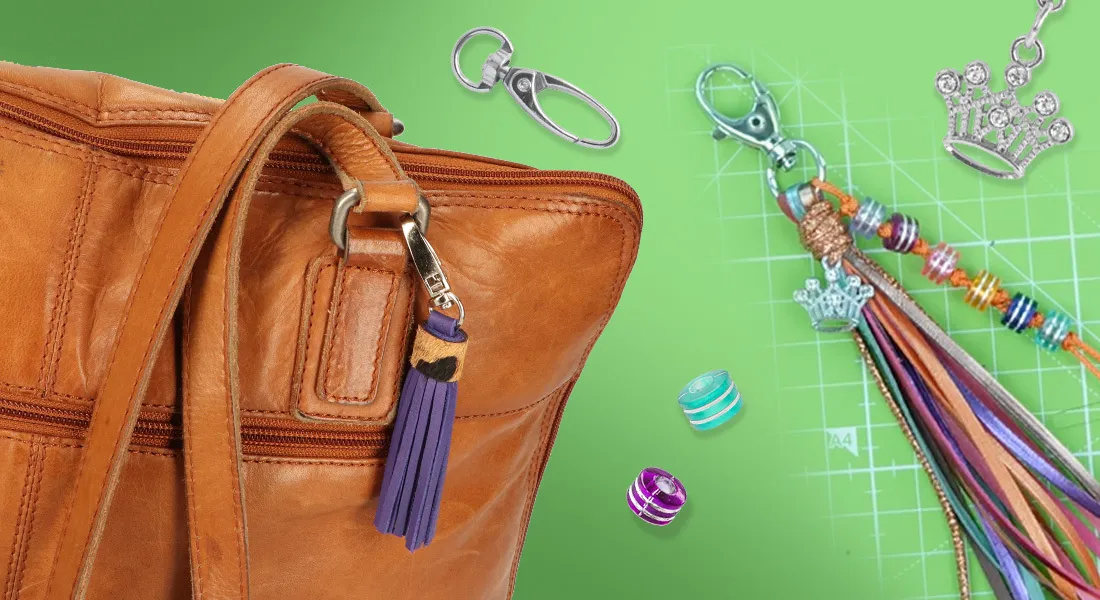
Keychain with leftovers
Do you have a leftover piece of leather? Turn this into a fun leather keychain! Below you can see how to make a pendant with the bleed knot.
For this keychain you will need a piece of greased leather of about 25 cm. Find something to which you can attach this leather, such as a key ring. To do this, make the ‘braid’ in the leather several times in the same way you did with the collar. Cut the ends the way you like and your keyfob is ready to use!