Make a BioThane dog leash with paracord | DIY kit instructions
Make a BioThane leash | DIY kit instructions
Do you want to make your own dog leash out of BioThane? Use this photo tutorial and leash pattern to make your own two-coloured BioThane lead.
 Did you purchase a DIY kit for making a BioThane leash? In this blog post you will find the instructions for making this dog lead. Of course, you can also make this leash without the kit, the materials you will need can be found on the product page of the DIY-kit.
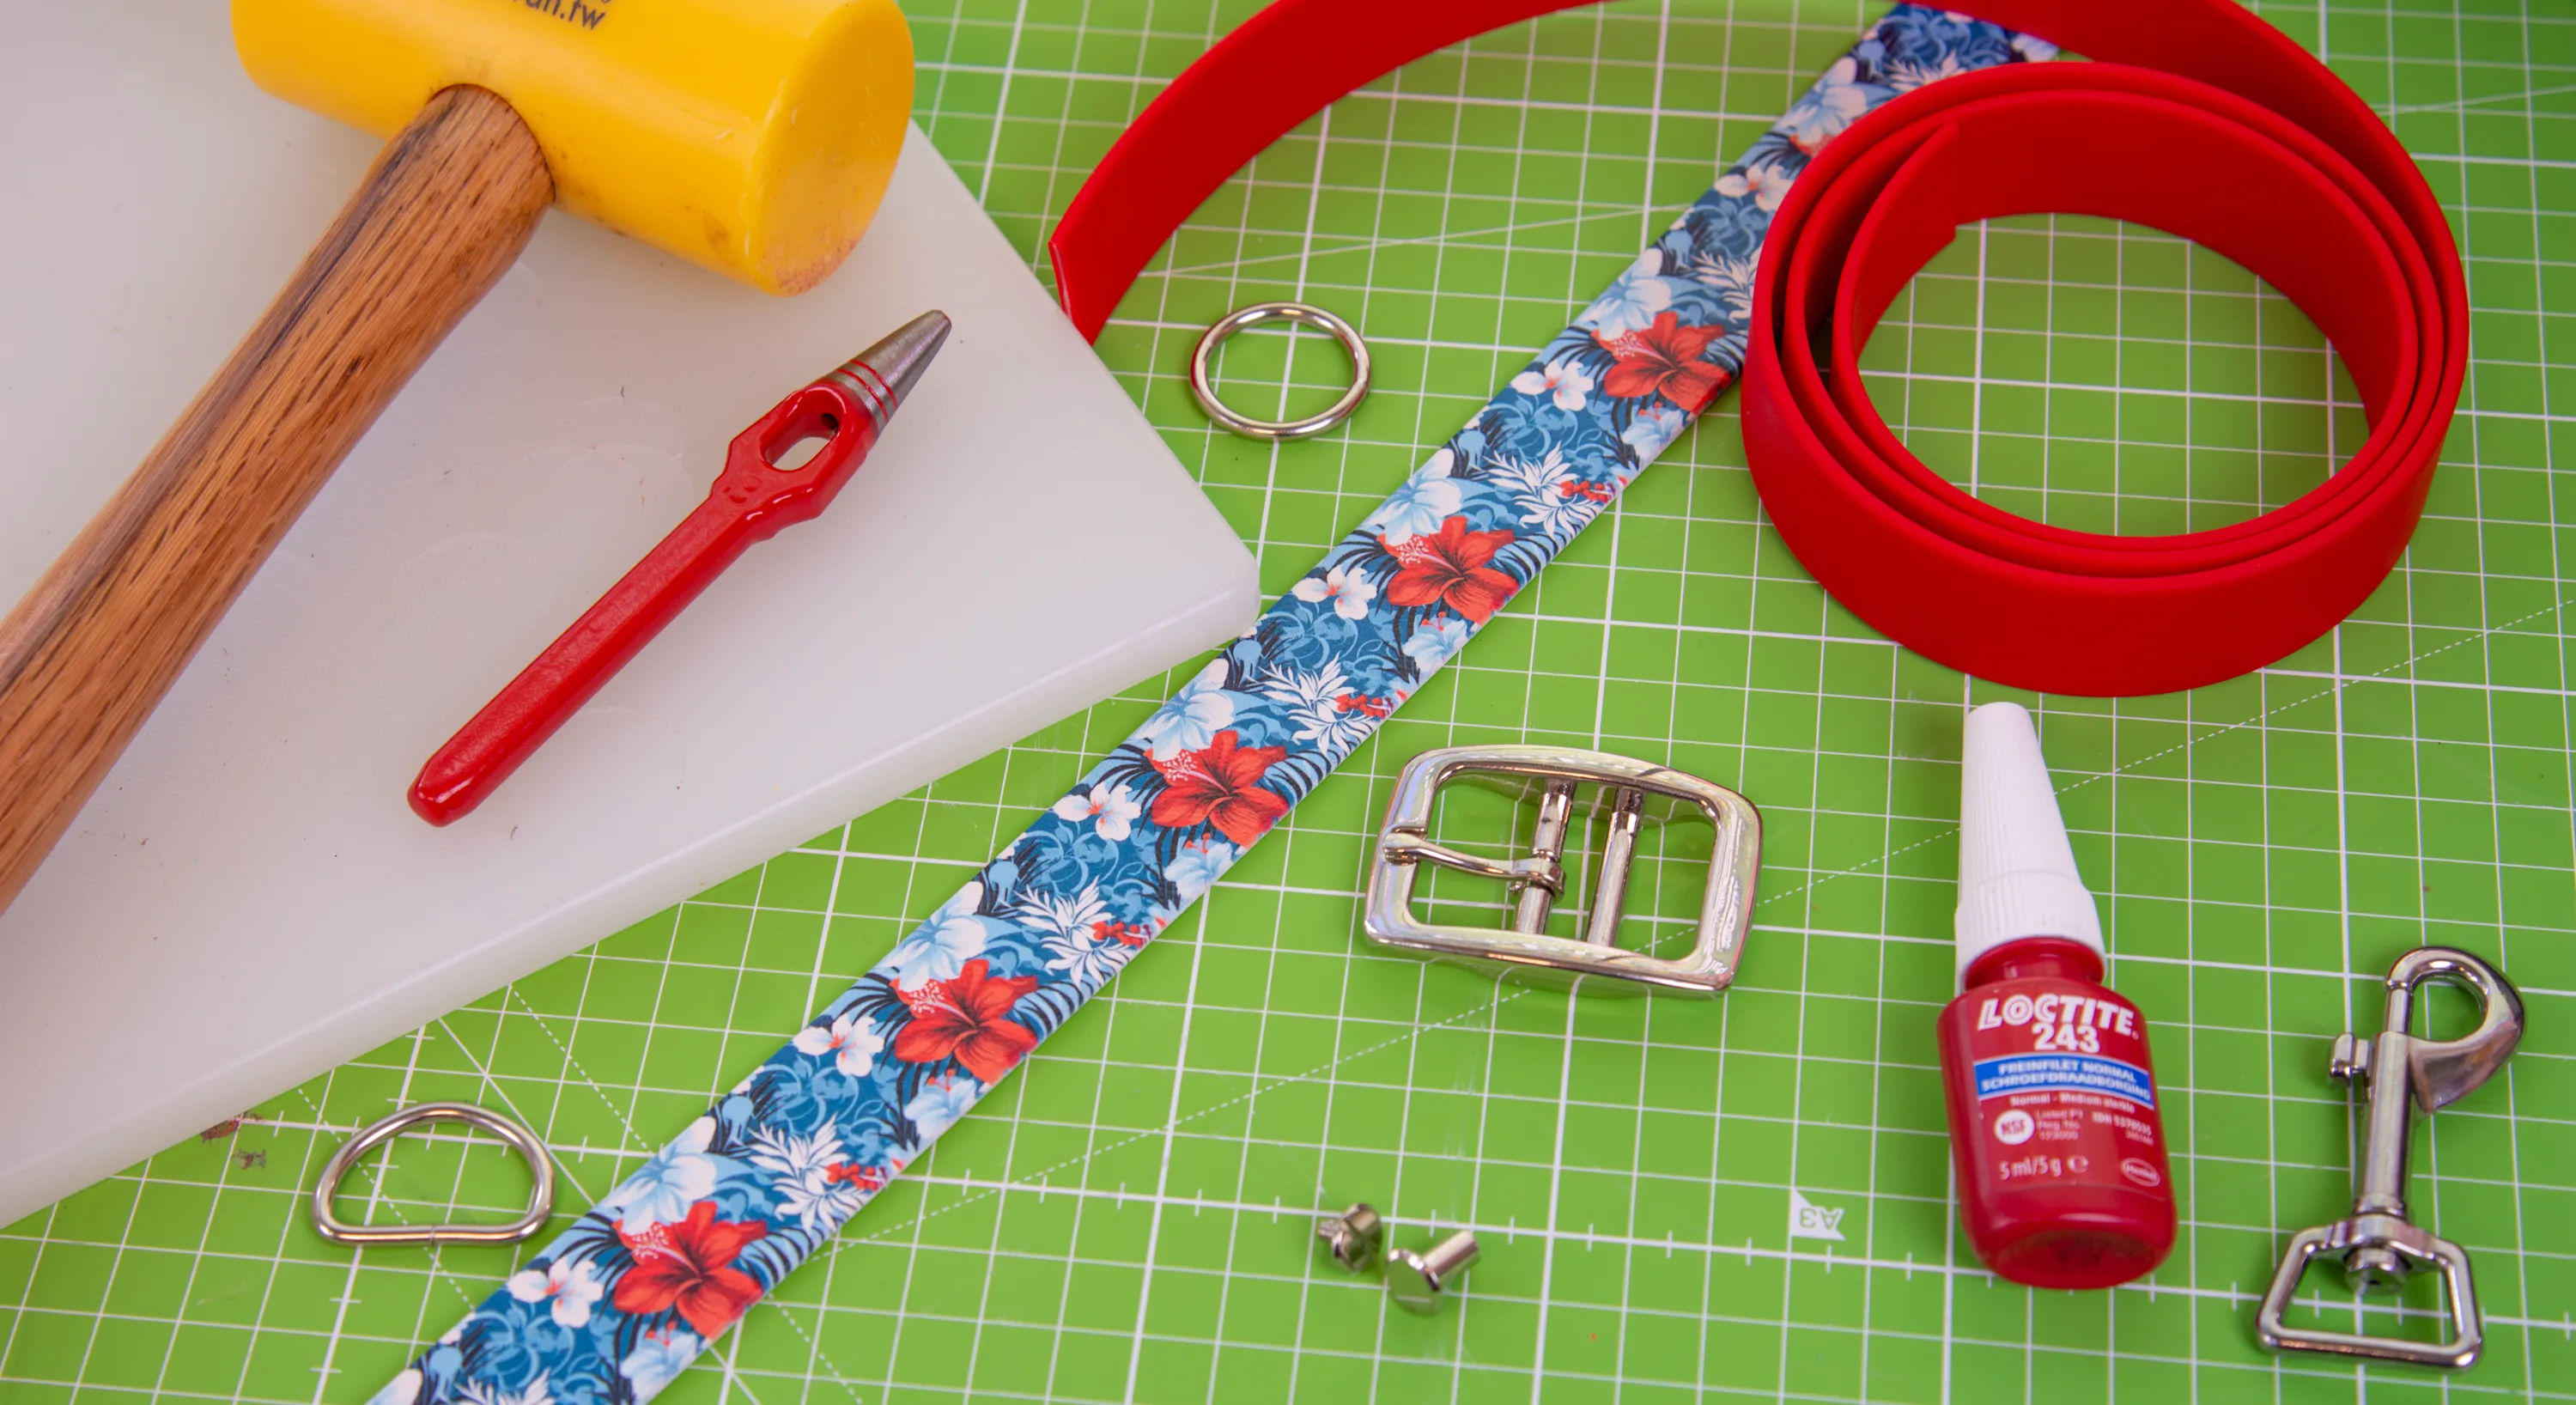
Handy to have on hand:
- Glue or threadlocker
- Flathead screwdriver
- Rotary punch or 5mm hole punch
- Scissors
- Pen
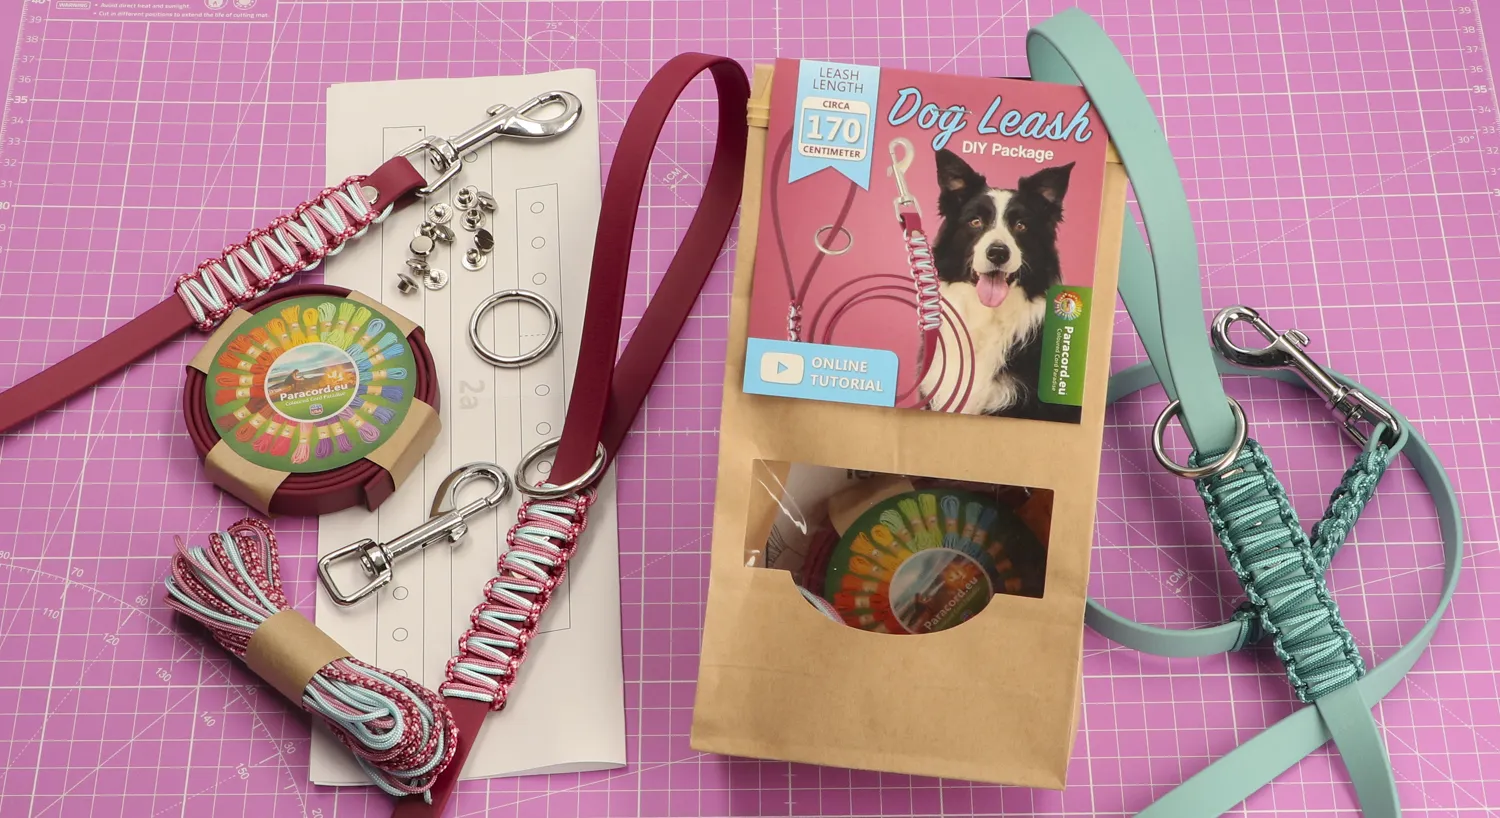
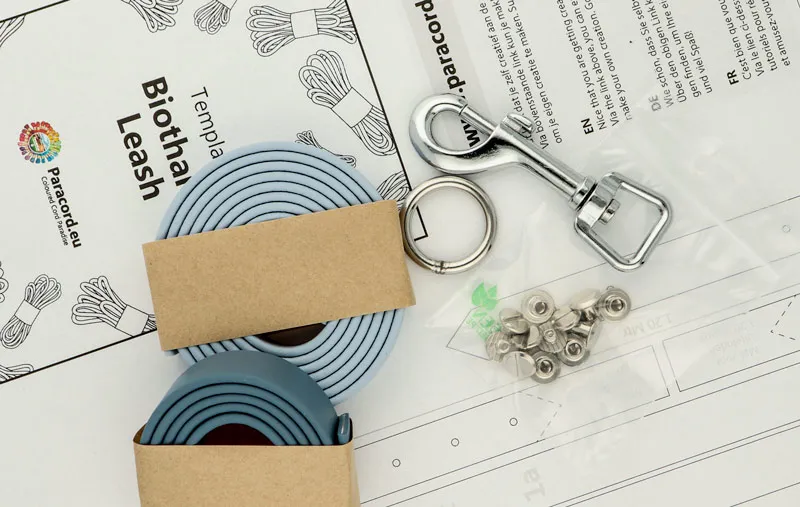
In this kit you will find the biothane, the accessories and the pattern. You can download the pattern for the biothane leash as a PDF as well.
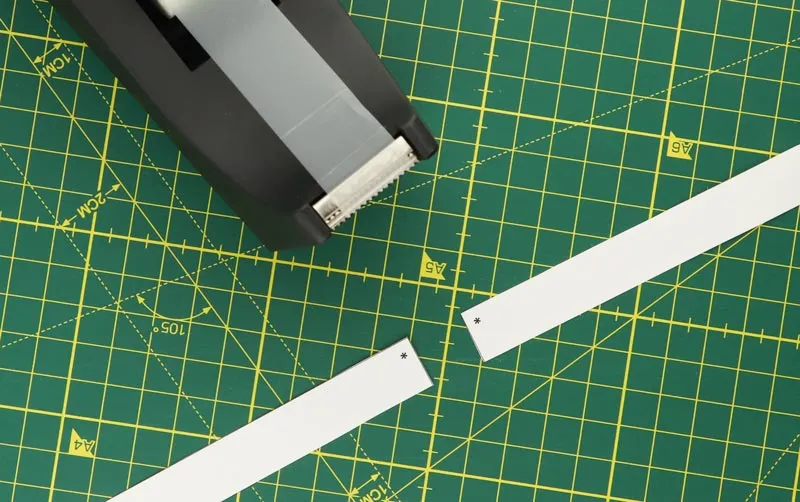
Step 1: Cut out the pattern
Cut out the pattern pieces along the cutting lines. Then tape parts 1a and 1b together, with the asterisks next to each other.
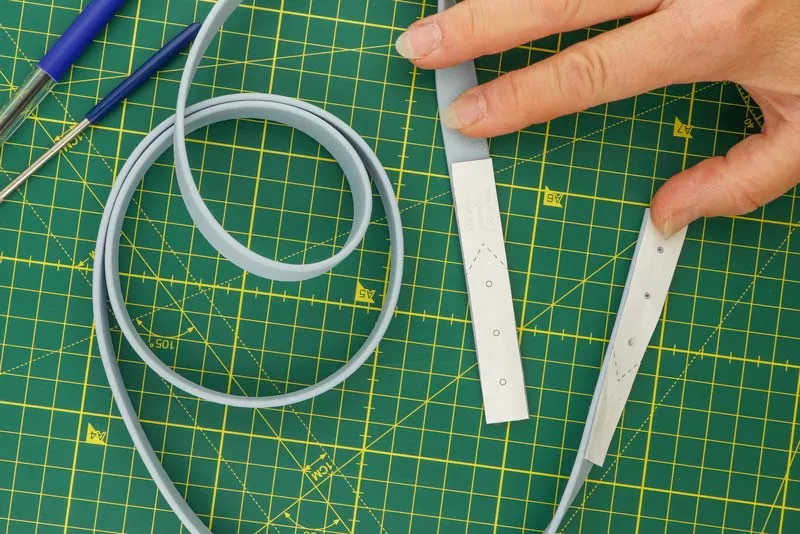
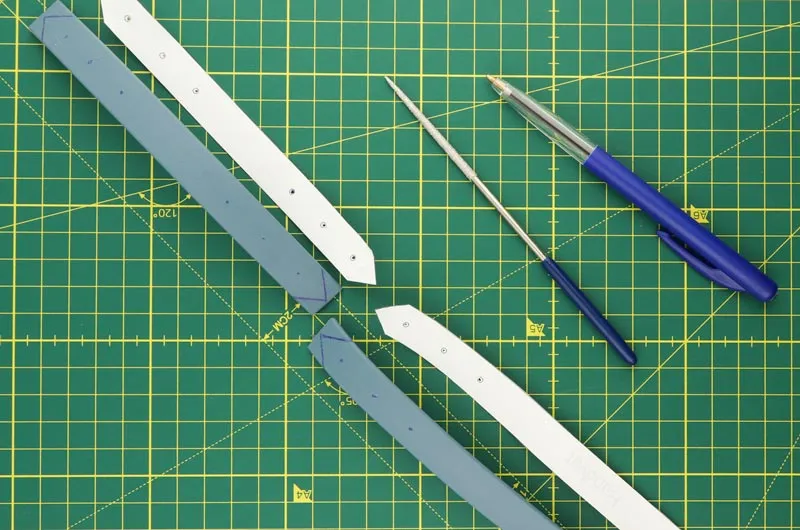
Step 2: Mark the BioThane
Take the longest piece of BioThane (of 1.2 metres). For this piece of BioThane, use the two pattern pieces with a 2. Put these on the ends of the BioThane, with the holes towards the end.
The guide line shows how the other pieces of BioThane will later be attached to the ends.
Use a pen to mark the holes on the BioThane. You do this by pressing through the paper with your pen and marking a dot on the BioThane.
You use pattern parts 1 and 3 for the other strip of BioThane. Place both pattern pieces on the BioThane and mark the ends and holes with a pen. Then cut the BioThane between the two pattern pieces.
With the BioThane for part 1 (about 55.5 cm) you make the handle, part 3 of about 14.5 cm is for the loop with which you attach the snap hook to the leash.
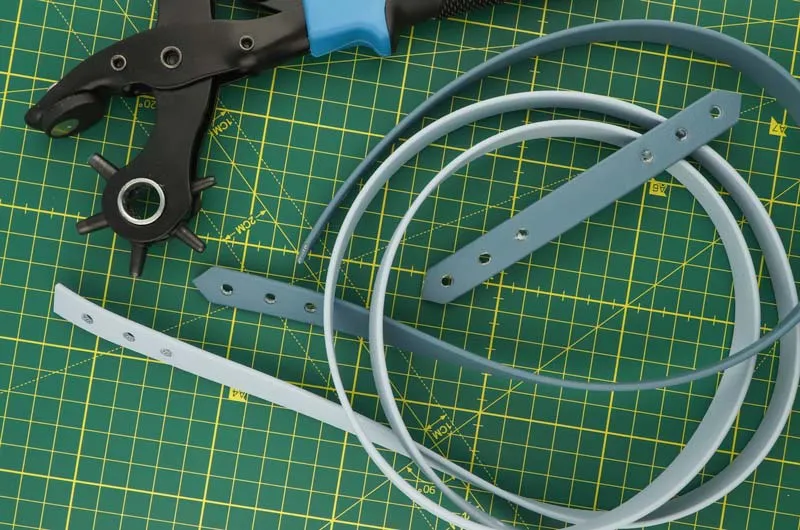
Step 3: Cut ends and punch holes
Cut the ends neatly. It is practical to use sharp scissors so that the cut is as neat as possible. You can melt away remnants of the webbing at the ends if necessary. Take care not to make contact with the coating, as the BioThane will melt and turn black.
Make 4.5 or 5 mm holes at the marked spots. You can use a rotary punch, but you could also use a 5 mm hole punch.
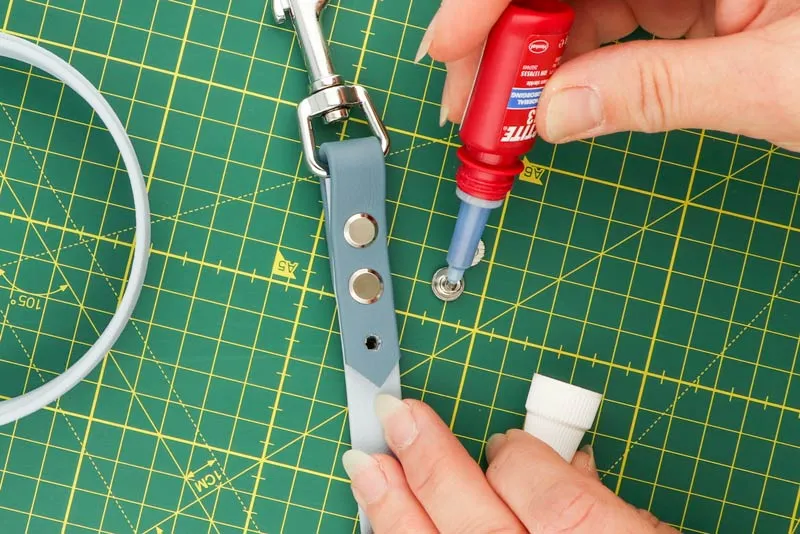
Step 4: Attach the snap hook
Take the short 15 cm piece of BioThane and slide the snap hook over it. Then fold this piece of BioThane around one of the ends of the 1.20-metre strip of BioThane. Make sure the holes of the pieces of biothane are exactly above each other.

You are now going to join the BioThane together. You do this by using 3 chicago screws. Before fastening the screws, put a drop of glue or threadlocker (e.g. Loctite 243). Then tighten the screw firmly.
Step 5: Attach the handle to the leash
Now take the 55.5 cm piece of BioThane to make the handle of the leash. Slide the O-ring over this strip. You can use this ring to hang a poop bag holder or to attach the snap hook so you can easily hang the leash over your shoulder when your dog is allowed to run loose.
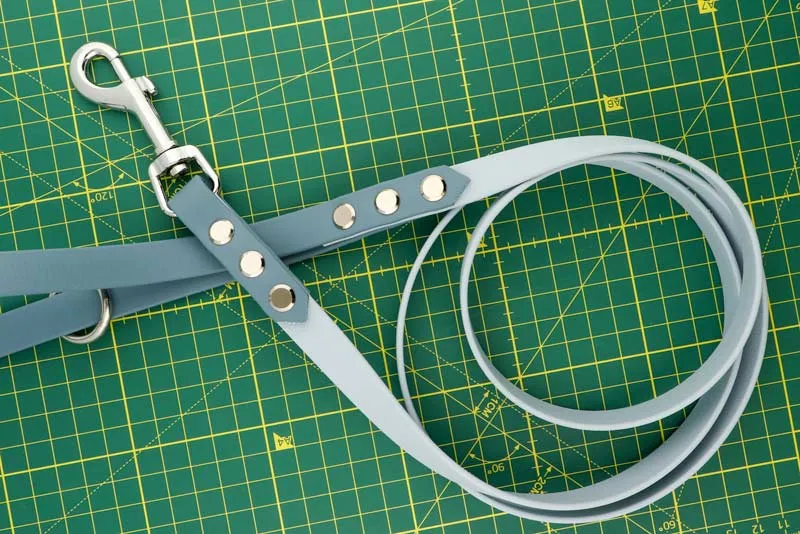
Now fold this strip around the other end of the 1.20-metre strip and make sure the holes line up exactly. Join the BioThane pieces together with three chicago screws.
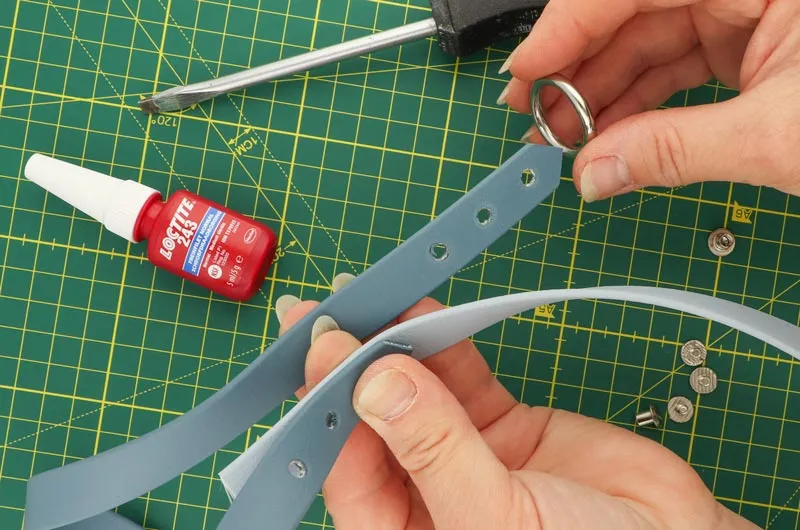
After attaching the handle with the three screws, your leash is ready to use!