Make your own Paracord dog collar | DIY kit instructions
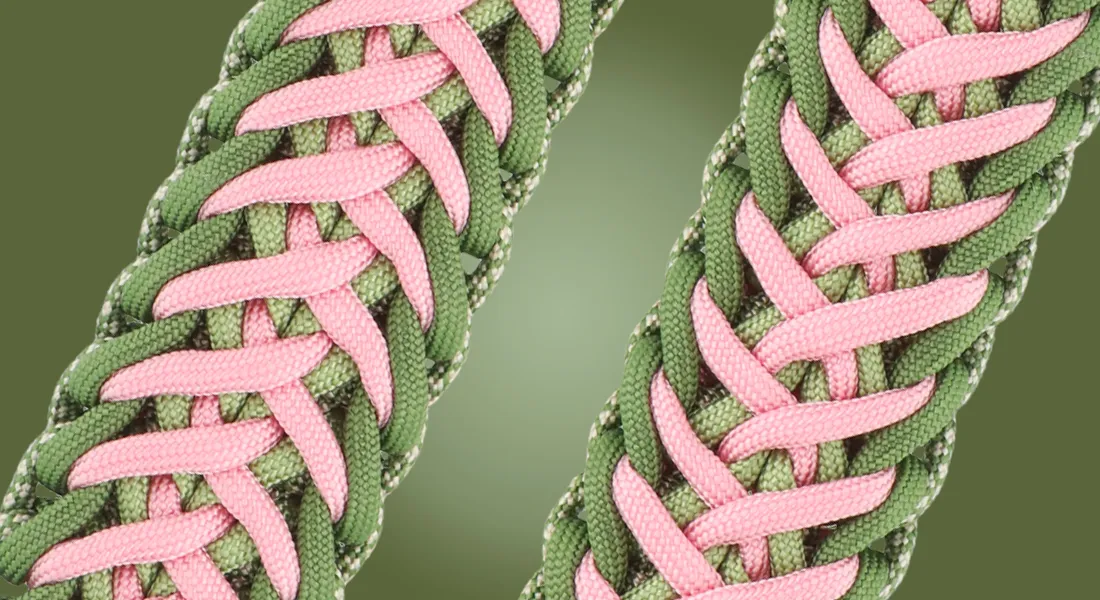
Do you want to knot a Paracord dog collar yourself? Here you will find the instructions, photos and videos for the knots Benno's Happiness, Luna's Fly Trap, Graf Wutz and Honey Bee.
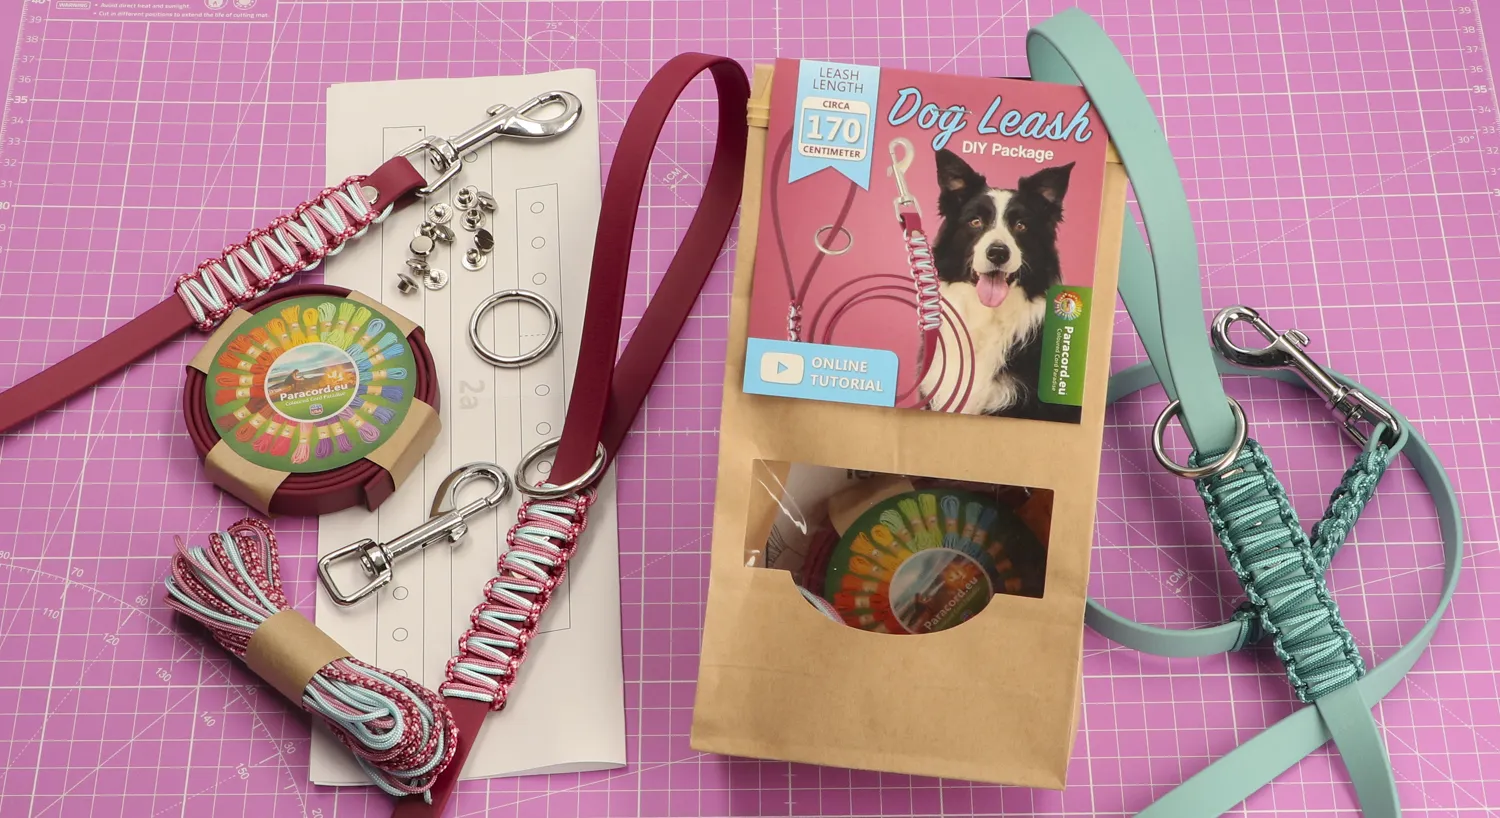
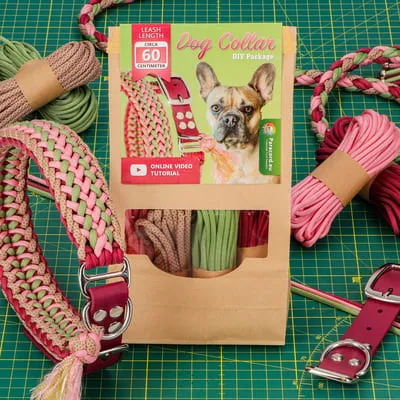 Have you purchased a Paracord DIY kit 'Make your own dog collar'? On this page you will find the instructions for knotting this collar. Of course you can also make these knots without this kit, you can find the materials on the product page.
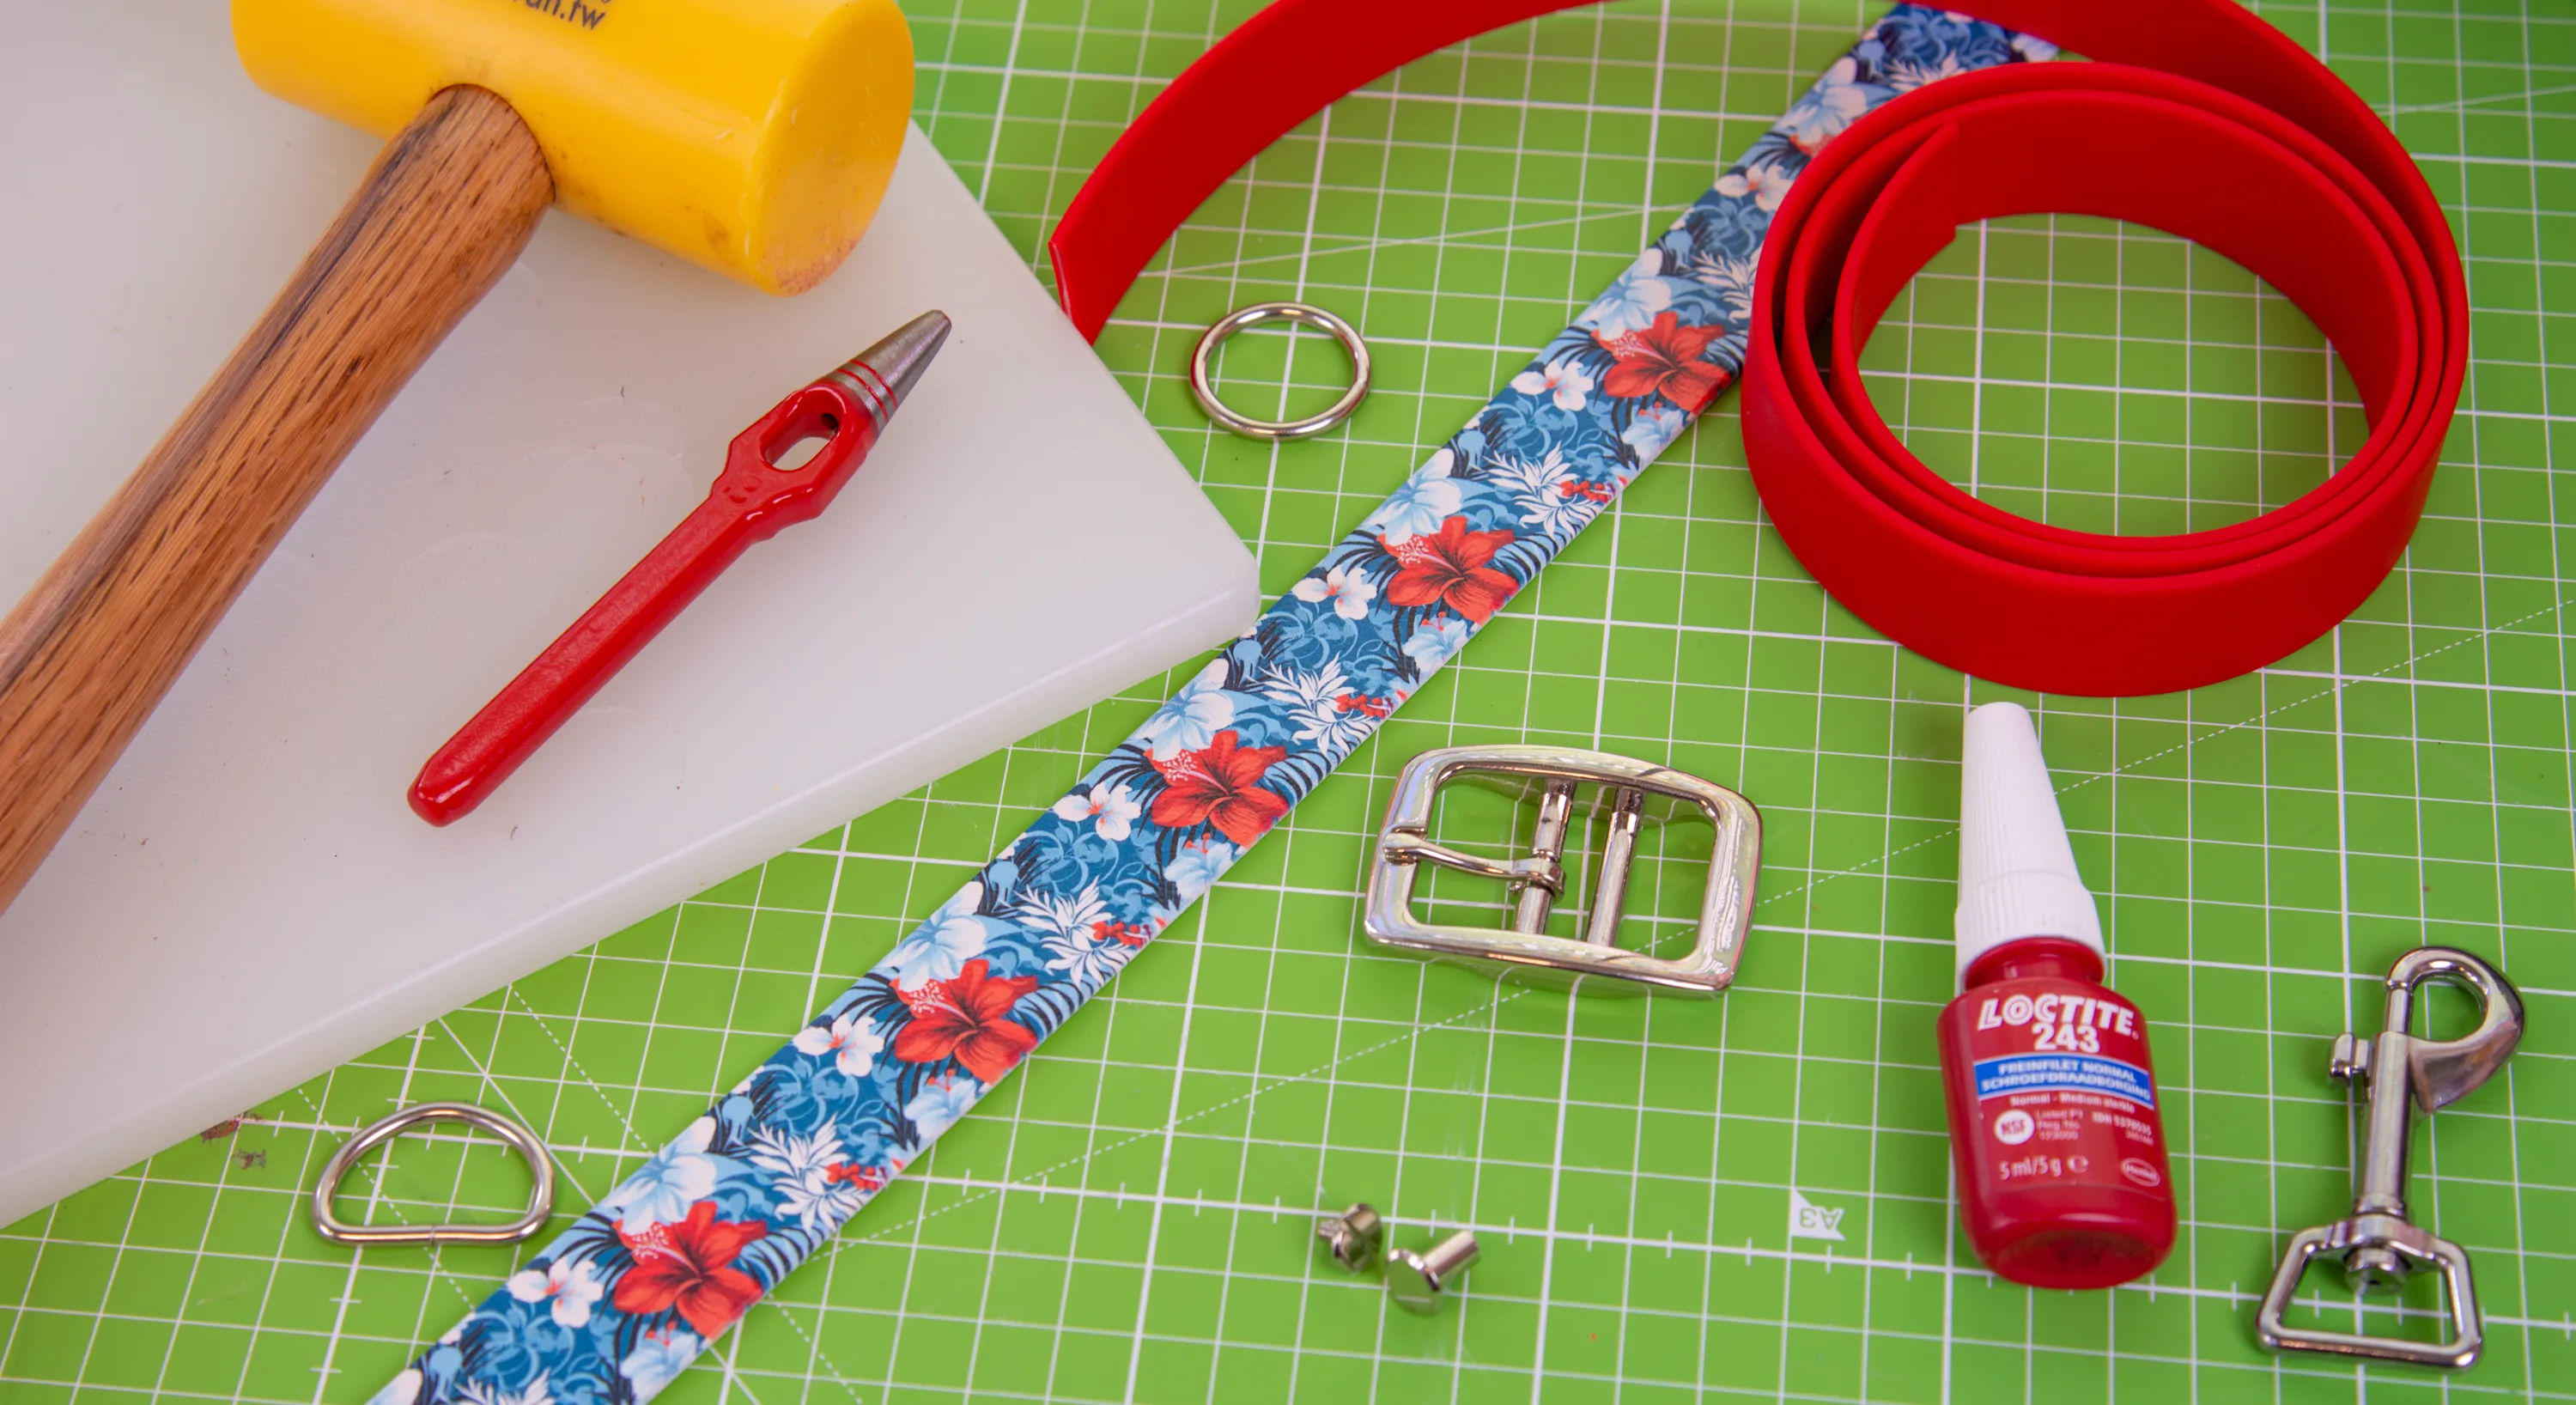
It is handy to have these tools at hand:
- Paracord needle Type III or crochet hook
- Blowtorch
- Scissors
- Teaspoon (for finishing off)
- Paracord jig
The beginning of the collar
When you are going to make a dog collar yourself, the set-up is a very important part of the knotting. You do not want your dog to get loose.
Length of the collar
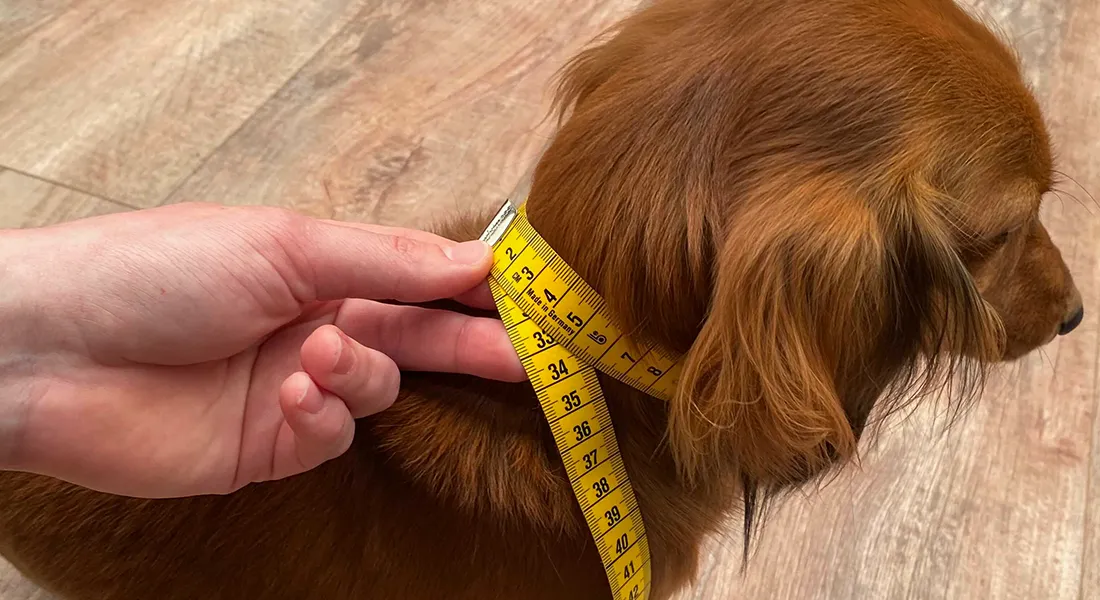
Before you can make the set-up, you must know how long it should be. The rule that you can follow with the products in this kit is: circumference of the dog's neck (in cm) - 7 cm.
Are you making the collar for a dog with a neck circumference of 43 cm? Then the length of your set-up should be 36 cm (43 cm - 7 cm). In the picture below you can see which part this is.
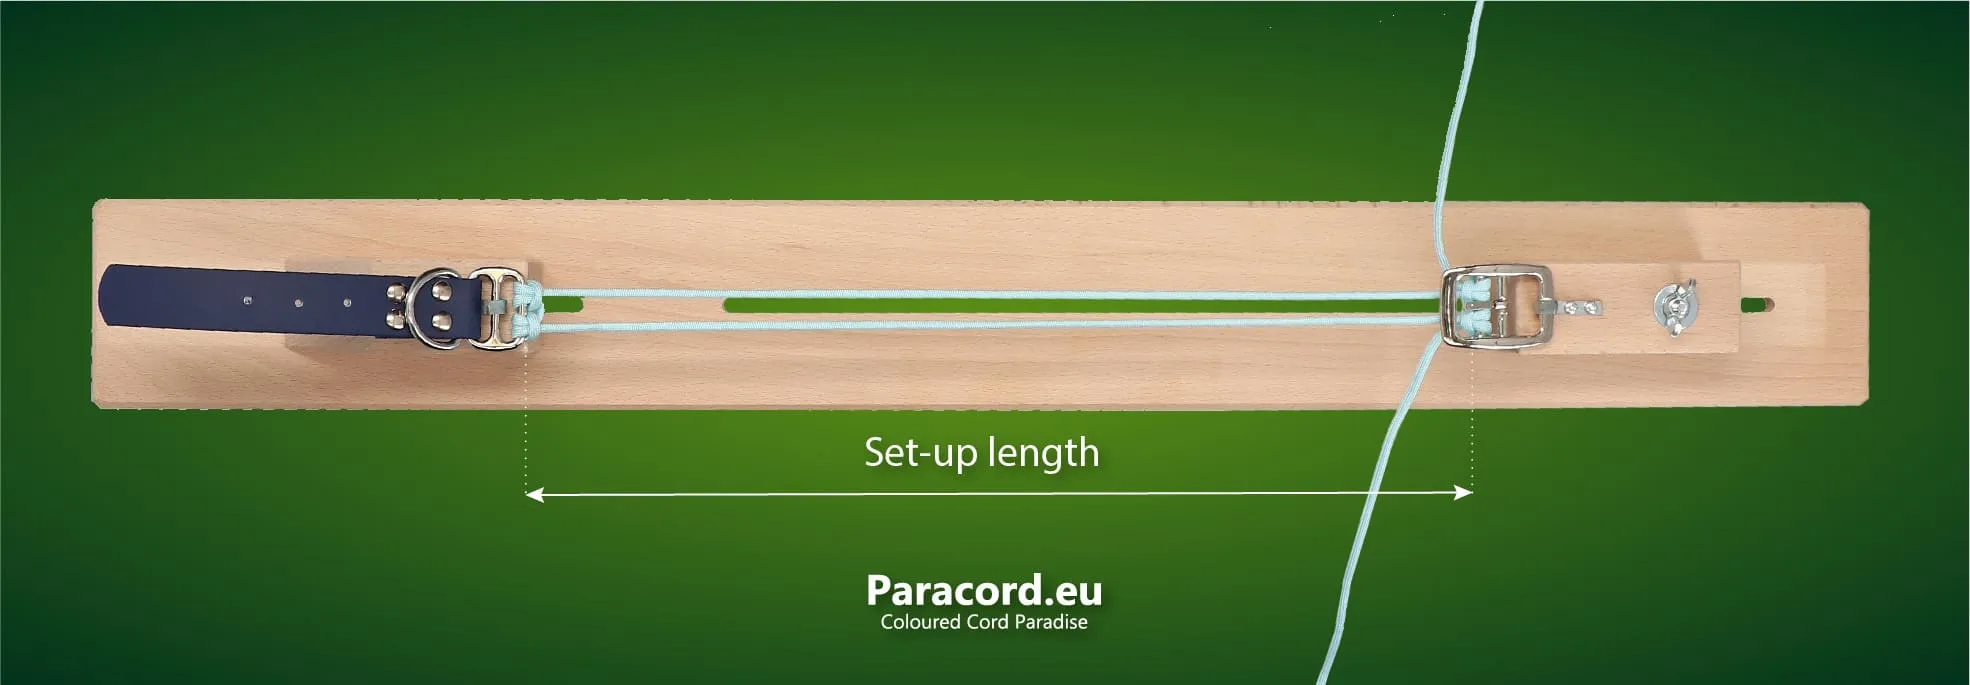
Please note that these are all average values. Lengths may vary due to personal knotting styles. With this length we assume that you close the adapter at the level of the centre hole. If the collar is too tight or too wide, you can easily change holes.
Single or double set-up
Two secure methods of setting up are the single set-up and the double set-up. The single set-up (also known as Kosmetik 2.0) is the most commonly used when tying a collar.
For Graf Wutz and Honey Bee, the knot starts with a double set-up in the original design. If you use a double set-up, you will usually end up with a wider collar.
The set-up is made with the 9 metre rope.
Tutorial single set-up (Kosmetik 2.0)
Tutorial double set-up (Kosmetik 2.1)
Knot the Benno's Happiness

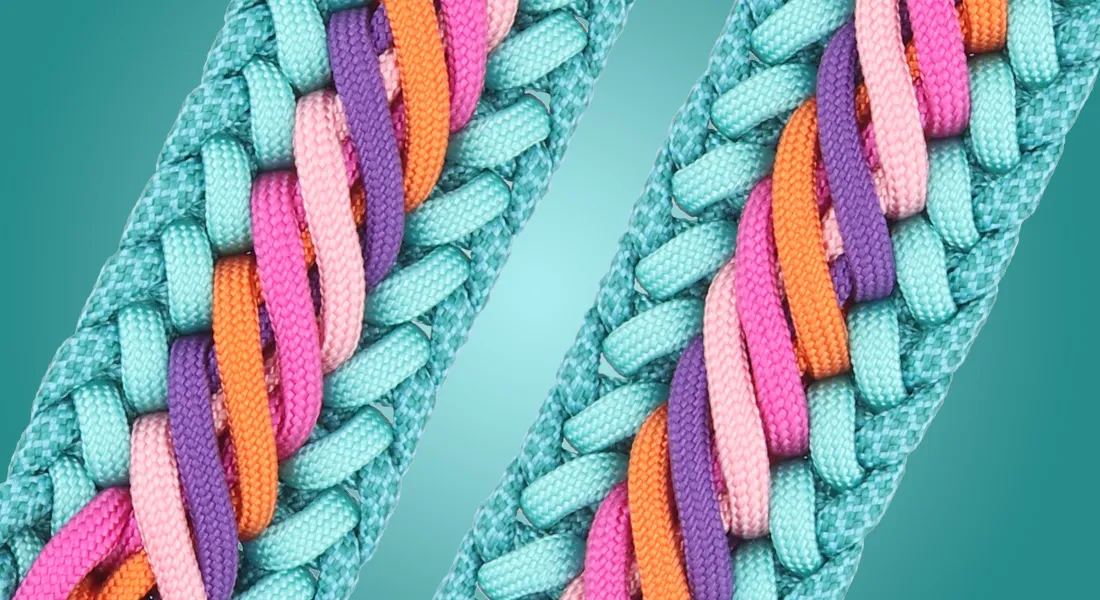
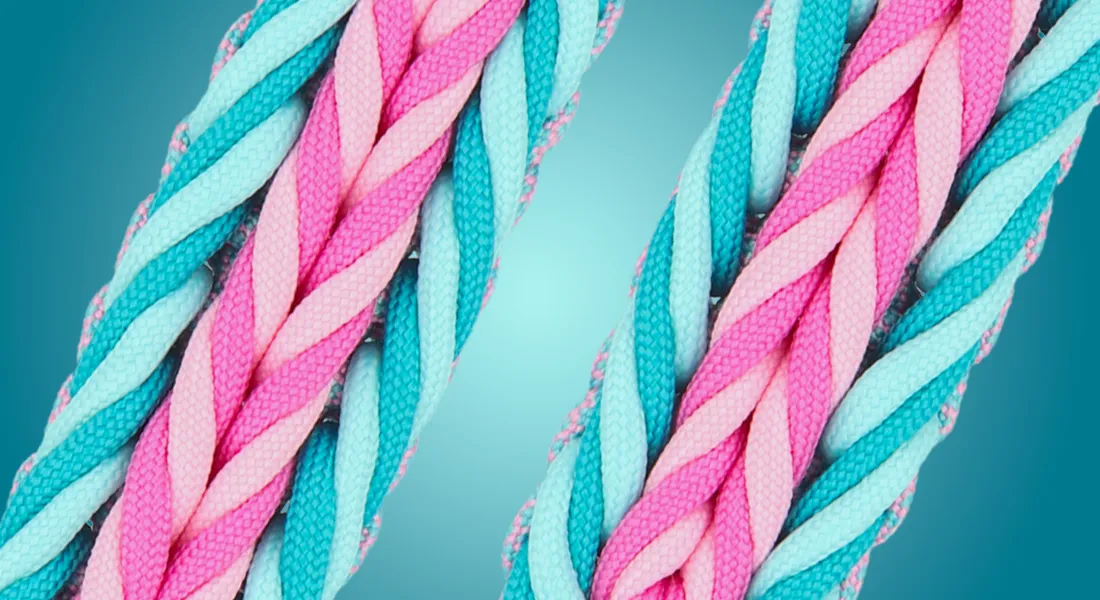
The Benno's Happiness knot is ideal if you are not yet an experienced knotter. The main thing to note about this knot is that you have to keep changing the position of the middle ropes to get this alternating pattern.
This knot is made in the instruction video with a single set-up.
Video tutorial Benno's Happiness
Knot the Luna's Fly Trap

This knot by Saskia Meissner is made with a single set-up in the tutorial.
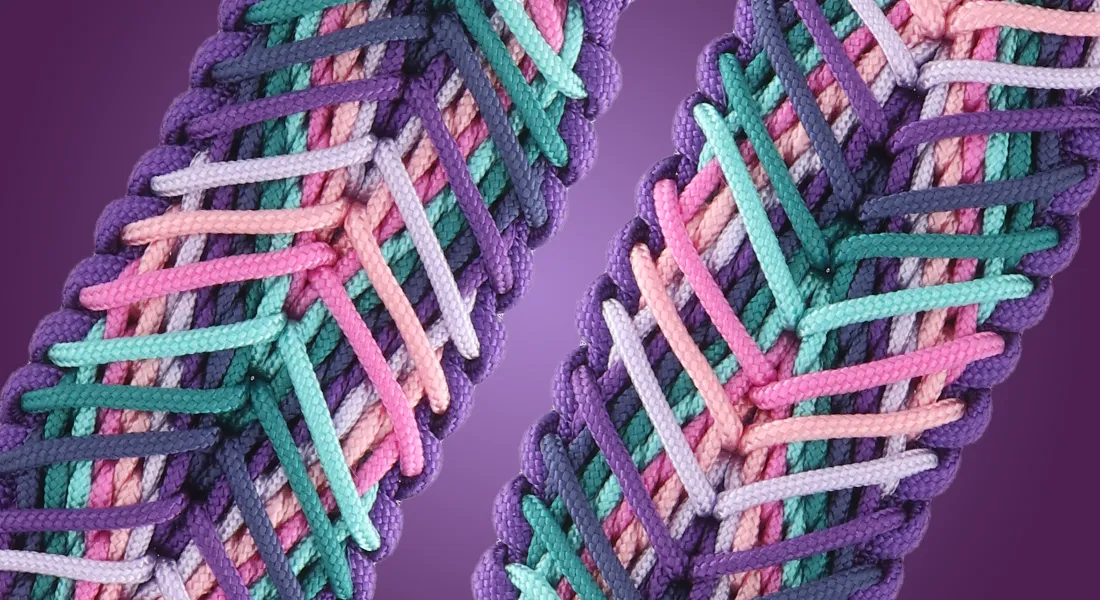
With this knot you can choose to take out the core from the rope on top. This gives a slightly different effect and the band is also somewhat flatter.
Adding colours to the set-up
Knotting Luna's Fly Trap
Finishing off Luna's Fly Trap
Knot the Graf Wutz
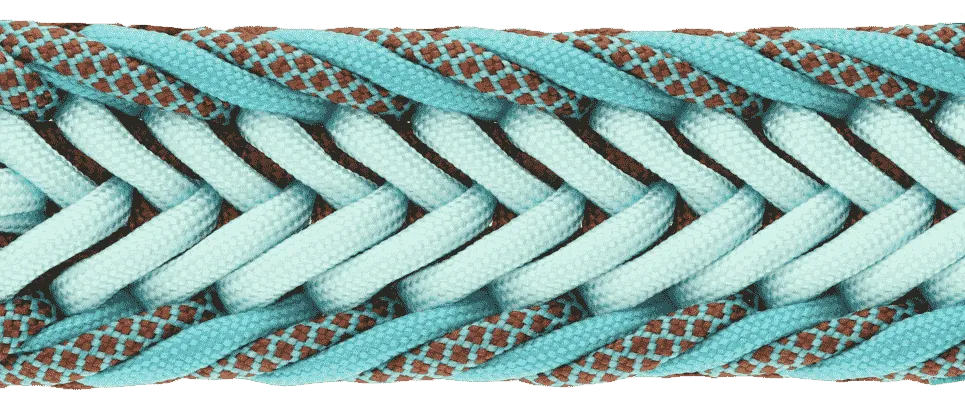
For the Graf Wutz knot, which was designed by Claudia Seewald (from Bootshund), you can choose between a single or double set-up. In the video, a double set-up is used.
Video tutorial Graf Wutz
Having difficulty with the finishing off? Then check out the video below. It shows the finishing off of a slightly different knot (Luna's Fly Trap), but you use the same principle when finishing off Graf Wutz.
Knot the Honey Bee

This knot from Silke Engels can be made with either the single or the double set-up. In the video tutorial, the double set-up is used.
Video tutorial Honey Bee
What to do with rope leftovers?
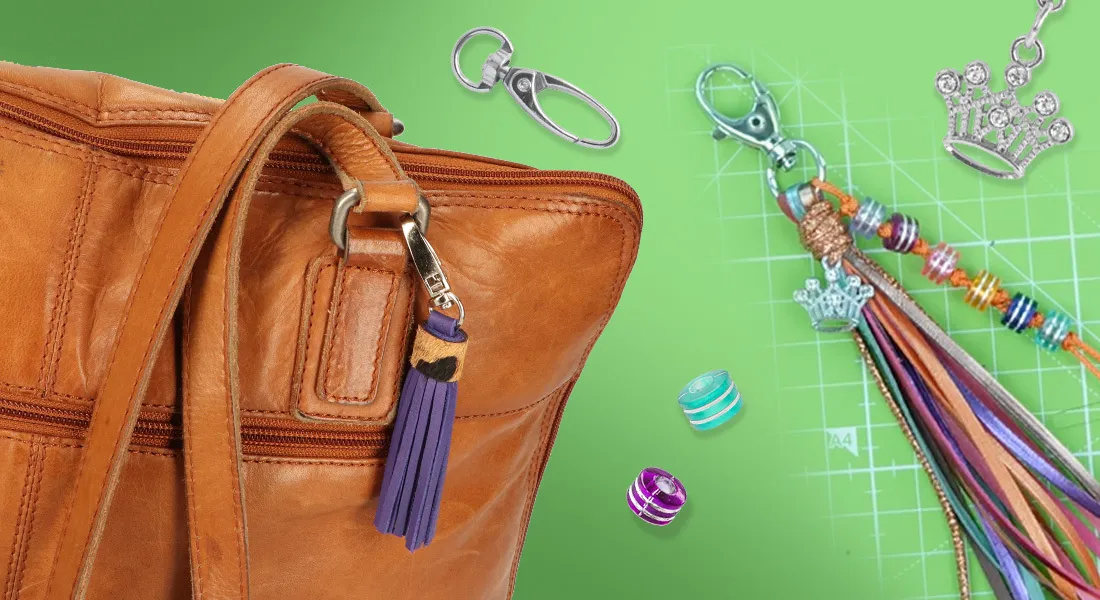
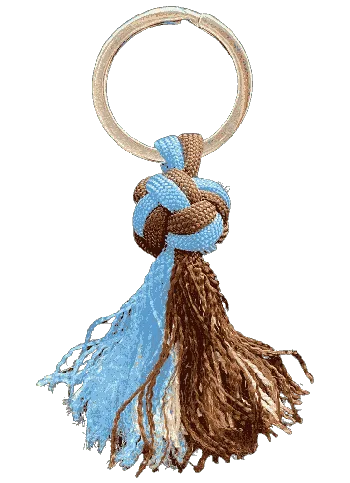 After tying your collar, you will probably have some rope left over. It is certainly not necessary to throw it away. You can use this rope for laces, bracelets, keycords, but also for keychains.
For example, you can make a keychain with the diamond knot. In the tutorial below, a diamond knot is used to start a dog leash, but it works exactly the same for a keychain. Imagine that the carabiner in the video is a key ring.
You can make the knot with as many strands as you like, because from 3 strands (or pairs) on, the principle remains the same.
After making the diamond knot you can add beads to the ends or fray the ends with for example a paracord needle. You could also choose to tie knots at the ends of the strands.
