Make the Niki's Butterfly knot | Tutorial
3 ways to make a safe single set-up
Making a safe setup is one of the most important elements in making a Paracord creation that's safe for people and animals. It can certainly be difficult to make a correct setup when you don't yet know this technique.
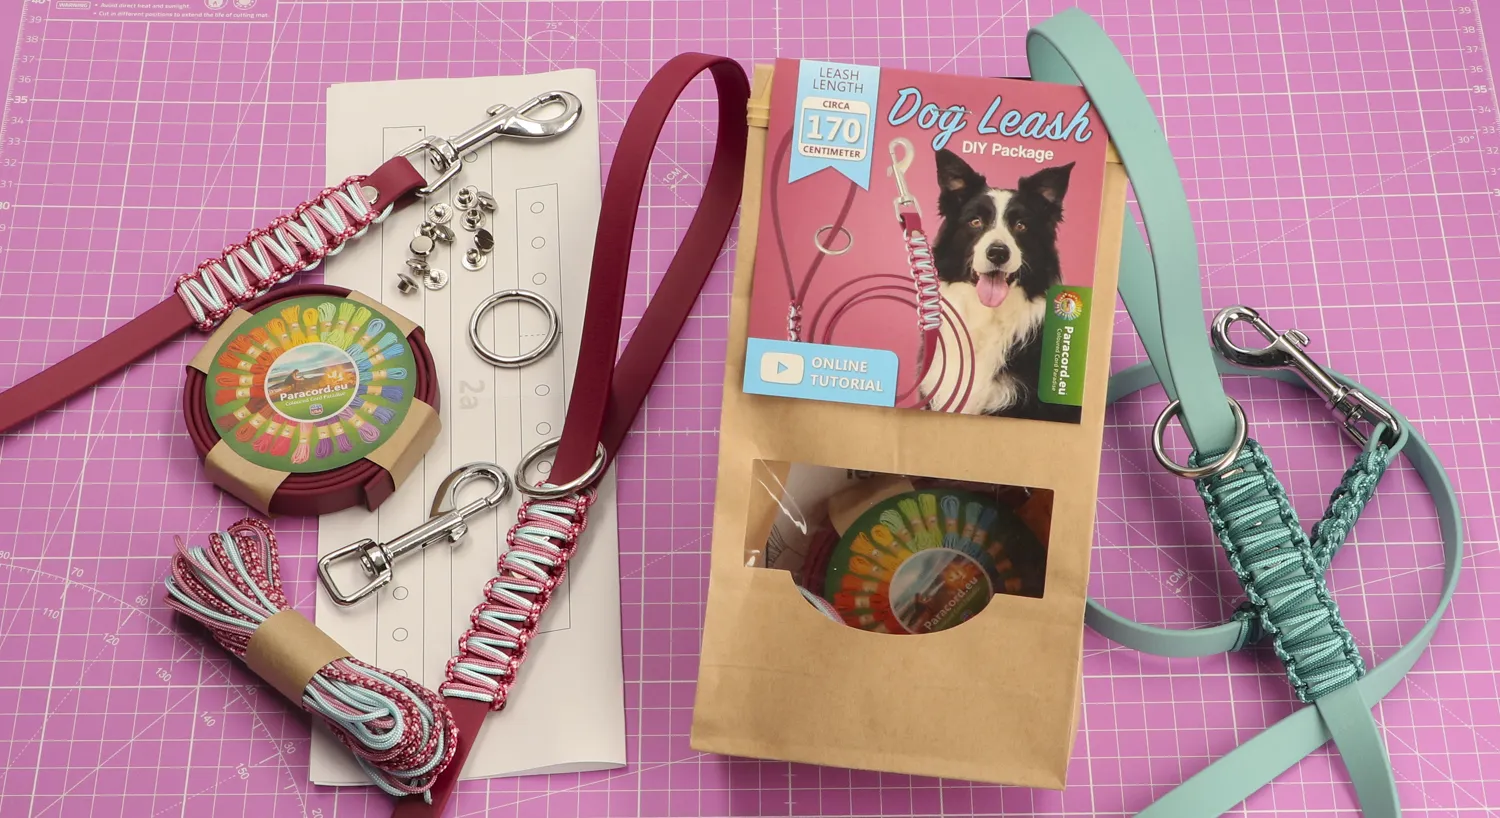
For practising this technique, a Paracord length of 60-100 cm is recommended. Much longer lengths are used when tackling real projects (such as Paracord collars or harnesses), which makes it more complicated to learn the technique.
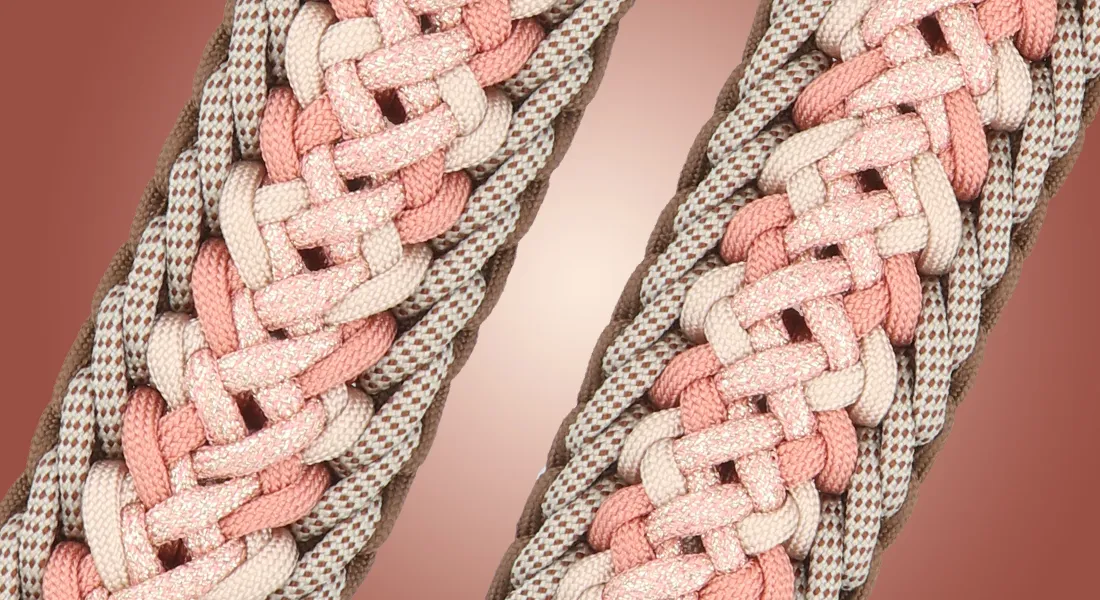
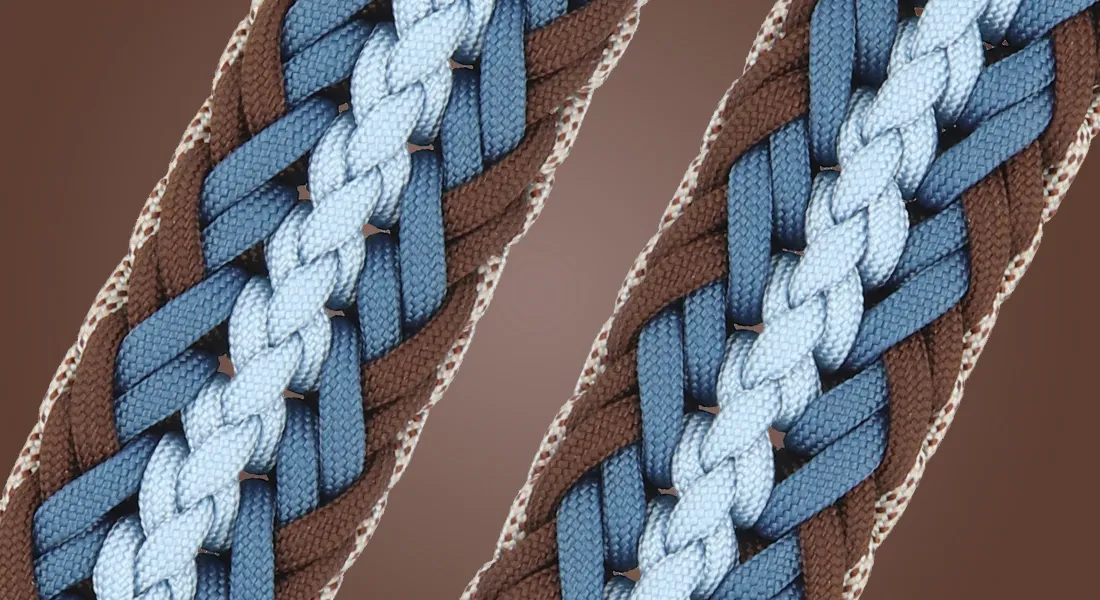
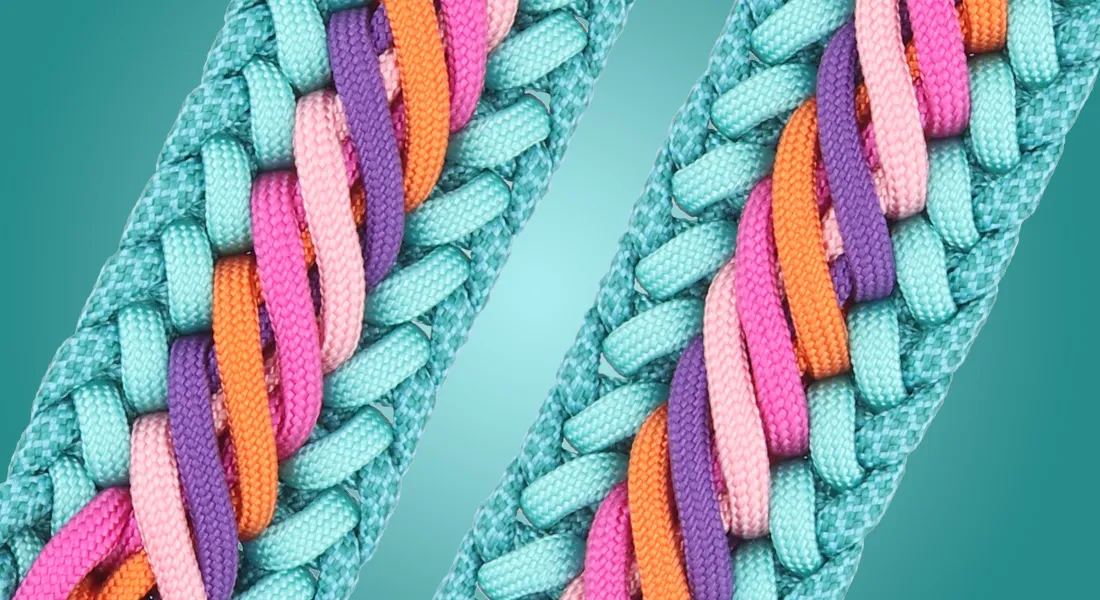
One of the most used techniques is the Kosmetik 2.0. Three ways to make the Kosmetik 2.0 are described in this tutorial. The text version of the descriptions is also given below the videos.
1. Kosmetik 2.0 with D-rings
This method is regularly used for making a half-check collar.
Materials
- 2 x D-rings
- 1 x 1 metre Paracord type III
- 1 x Paracord jig, or other means of tensioning
Technique
Only one of the two D-rings is used in the first steps. The second D-ring is used from step 7 onwards.
- Find the middle of the cord and fold it double.
- Now insert the loop of the cord via the rear side through the D-ring.
- Place the loop over the D-ring to make a Cow Hitch knot (see image).
- Bring the left-hand cord along the left-hand side again via the rear side of the buckle and insert it through the loop you've just made with this action.
- Repeat on the right-hand side with the right-hand cord.
- Now there are two Cow Hitch knots.
- Place the 2 D-rings on the Paracord jig. Now proceed with the other D-ring.
- Insert both Paracords that are attached to the first D-ring through the second D-ring via the front side.
- Pull the left-hand cord through the middle of the foundation cords (those tensioned) to the front and place it on the left-hand side.
- Insert this one via the rear side through the D-ring, back into the loop that you've made.
- Repeat this on the right-hand side.
- Your safe Paracord setup is done.

2. Kosmetik 2.0 with buckle and D-ring
Materials
- 1 x D-ring
- 2 x Buckles (1 to be used as tool)
- 1 x 1 metre Paracord type III
- 1 x Paracord jig, or other means of tensioning
Technique
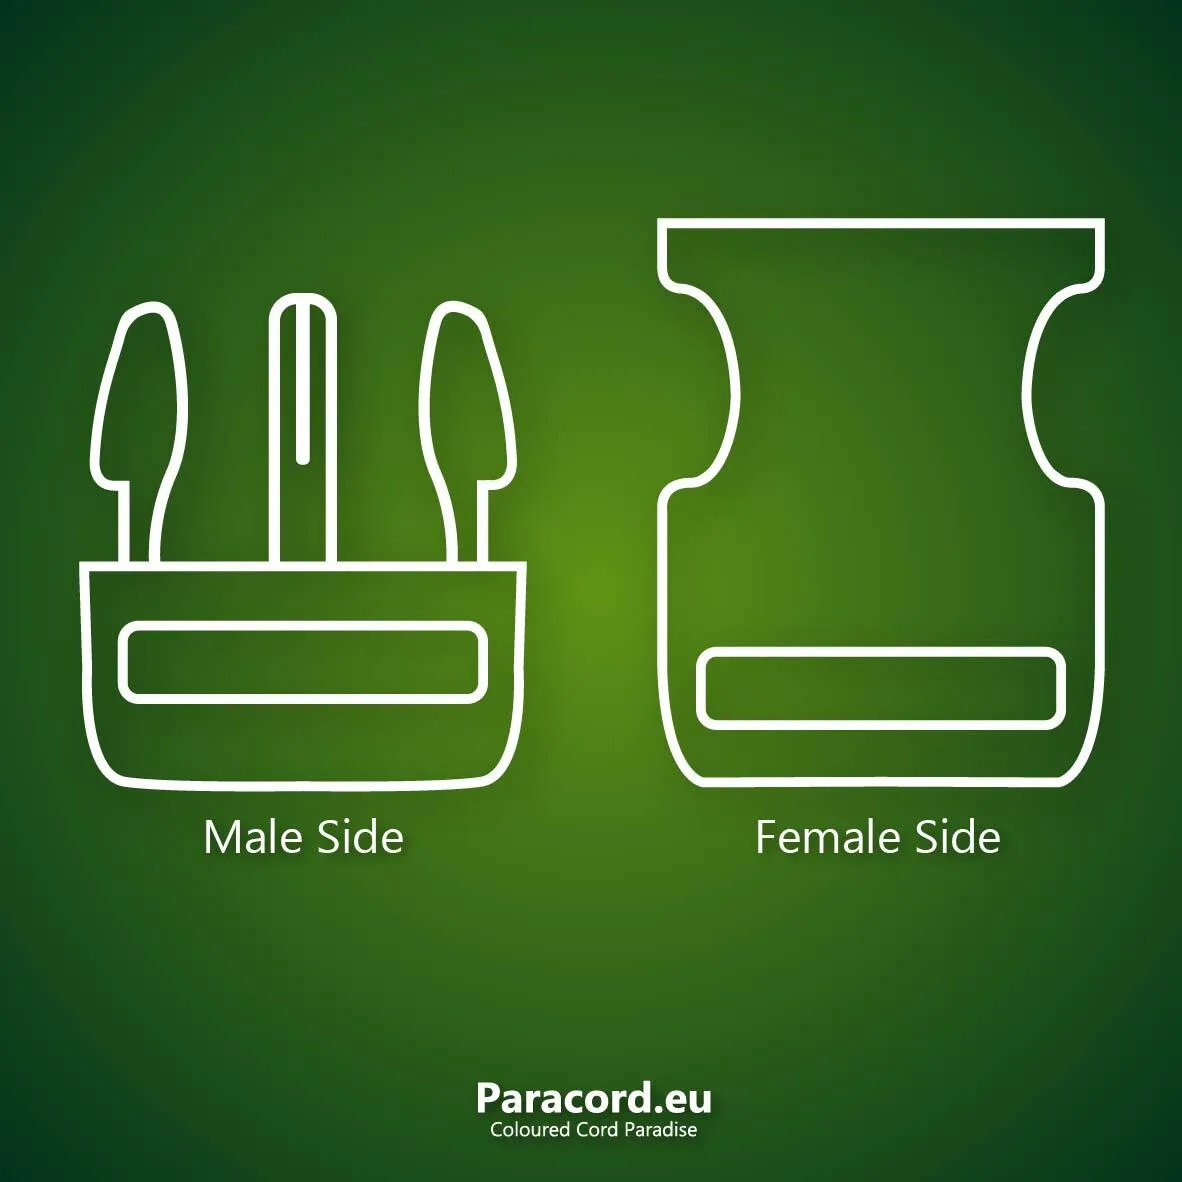 When knotting a collar, it's important to think about the placement of the D-ring. There are various safe methods. The method learnt here is the one where the D-ring is attached to the female side of the buckle when setting up (see image).
When you choose to knot the D-ring in the collar itself, make certain that the buckle won't hurt the dog when they pull on the lead. This can occur when the buckle presses on the throat when the lead is pulled.
It's handy to have a second buckle at hand to make it easier to tension the collar on the Paracord jig.
Only the male side of the buckle is used in the first steps. From step 7 onwards, you also use the female side.
- Find the middle of the cord and fold it double.
- Now bring the loop of the cord through the buckle via the rear side.
- Place the loop over the buckle to make a Cow Hitch knot (see image 1).
- Bring the left-hand cord along the left-hand side again via the rear side of the buckle and insert it through the loop you've just made.
- Repeat this on the right-hand side.
- Now there are two Cow Hitch knots.
- Now tension both sides of the buckle on the Paracord jig.
- Insert both cords through the D-ring, and then straight through the female side of the buckle. The D-ring doesn't settle in place right away, but this is solved later.
- Bring the left-hand cord to the front via the middle, and place it back on the left-hand side.
- Now insert the cord through the buckle and the D-ring via the rear side. Then insert it back through the loop just formed.
- Repeat steps 9 and 10 on the right-hand side.
- Your setup is now ready to go!
3. Kosmetik 2.0 with adapter
Materials
- 1 x Tri-Glide
- 1 x belt buckle
- 1 x 1 metre Paracord type III
- 1 x Paracord jig, or other means of tensioning
Technique
An adapter is often used for making an adjustable collar. The setup is attached to the tri-glide and belt buckle.
It's important to now think about the place where you want to finish off. That may sound strange, because we are working on the setup. Why do you have to think about that now? The side where you make the first setup knots is automatically the side where you'll be finishing off the collar.
Both sides have an advantage and a disadvantage:
- First knots on the tri-glide: gives more room to finish off, but this will be visible when the collar is being worn.
- First knots on the belt buckle: less room to finish off, but the finishing off is not visible when the collar is being worn. This is because the Biothane or leather will lie over this part when you close the adapter.
The tri-glide option is used in the example.
- Find the middle of the cord and fold it double.
- Now bring the loop of the cord through the tri-glide via the rear side.
- Put the loop over the tri-glide to make a Cow Hitch knot (see image 1).
- Bring the left-hand cord along the left-hand side again via the rear side of the tri-glide and insert it through the loop you've just made.
- Repeat this on the right-hand side.
- Now there are two Cow Hitch knots.
- Now tension your tri-glide together with the belt buckle on the Paracord jig.
- Insert both cords through the belt buckle.
- Bring the left-hand cord to the front via the middle, and place it back on the left-hand side.
- Now insert the cord through the belt buckle via the rear side. Then insert it back through the loop just formed.
- Repeat this on the right-hand side.
- Your setup is now ready to go!